I’ve posted before about my love of second hand shopping here but I feel it’s time for another rant. I have pretty much decorated our whole house with awesome thrifty finds and while it’s not everyone’s style it suits me for a lot of reasons (and lucky for me Dave likes it, or graciously tolerates it for my benefit). One reason is I am working within a budget but mostly I like things that are a bit spesh, quirky or interesting. Or just plain pretty to look at. I like things that I think might have stories behind them, something that was someones treasure, something that was made with beautiful craftsmanship. And I find a lot of things that fit that description are second-hand. Sometimes I do wonder though whether I am just filling the house with junk or clutter. Whether someone might walk in, look around and just think “what is this girl doing?”
Mandi from Vintage Revivals has written a few great posts on guides to ‘thrifting’ (as they call it in the US of A) and I just love her style and her style philosophy which is to stop worrying what people will think and just surround yourself with things that you love. And she’s right, how can you go wrong really, because if you decorate with what you love, your home with be a true reflection of who you are and what makes you happy. Thrifting is also about compromise and improvisation. For example if we had access to everything we wanted and no budget our house would look different to what it does now (we’d actually be in a different house for starters) but I think the overall style would be very similar. Because I do have to worry about budgets and such I keep ideas and lists of things I love and look out for something similar or something I can DIY or revamp for a much lower cost.
There is also the thrill of the chase and that amazing satisfaction of finding something you’ve been searching for for ages.
Again Mandi (can you tell I think she’s awesome?) has also coined the definition Thrift Shop Glam which is a much better sounding name than ‘all the weird bits and pieces I keep bringing home and putting around the house’.
I do have a few things I am mindful of when I am hunting around second hand shops though and I thought I would share them.
1. Try to know the value of something so you dont over pay but if you love something and you know you won’t find it anywhere else don’t be a tight arse – just buy it. It’s much better to pay, say $20 more than you’d like to if something is AMAZING and one of a kind, than live with regret (like the great cuckoo clock & ten pin incident of 2012), even though $20 can be big money in the second hand world. If you use the Cost Per Wear Index but changed it to Cost Per Smile Every Time You Look At Something For The Rest Of Your Days Index it’s a damn sound investment if you ask me.
2. Shop with your gut. If something connects with you then take that sucker home, even if you don’t know how it will fit into your life yet. Some things just make you take them home because of their shape/colour/material or overall fabulousness.
3. If you’re the crafty type try to keep a mental or actual list of things you’re on the look out for and go through it before you shop because if you have a whole heap of ideas you might forget what you need.
4. Look beyond the reality and focus on the possibility. Do I sound like Confucius? But seriously, it’s not a clapped out old piece of crud you see before you but a potential awesome piece of decor/furniture if you’re willing to clean it, paint it or glue it onto something else.
5. Know your favourites and make sure you cover all your top areas when you go into a shop. My plan of attack goes a little something like this: vintage books with cool covers, vintage/ornate frames and mirrors, vases/glassware, candlesticks, old cameras, the shelves that hold the quirky decor/bits and pieces, interesting clocks, lamps, furniture, artworks, fabric, floor rugs.
4. Sometimes if you want something bad enough it just appears in a second hand shop like a shiny beacon of hope & awesomeness. Take my recent absolute need for a gold and glass coffee/side table for the lounge room (to counter all the brown/wood). Well, on Saturday I walked straight into one that was reduced from $19.95 to $14.95. Granted it isn’t the faux gold bamboo one of my dreams that Nicole from So Haute Style recommends but it satisfies a lot of the criteria – it’s gold, it’s glass, heck it’s even a table. It’s also a little marked but I like to think of that as character.
Remember it’s a game of chance, sometimes you find nothing and sometimes you come home with armfuls of stuff but the more you go the more likely you are you hit the jackpot.
And just to put it out there to the Gods of Thirfting, here are the things on the very top of my list of “the best things I could find in an op shop”: vintage globes, mercury glass, a mounted deer head and the piece de resistance…a Moroccan Wedding Blanket. I can dream can’t I?
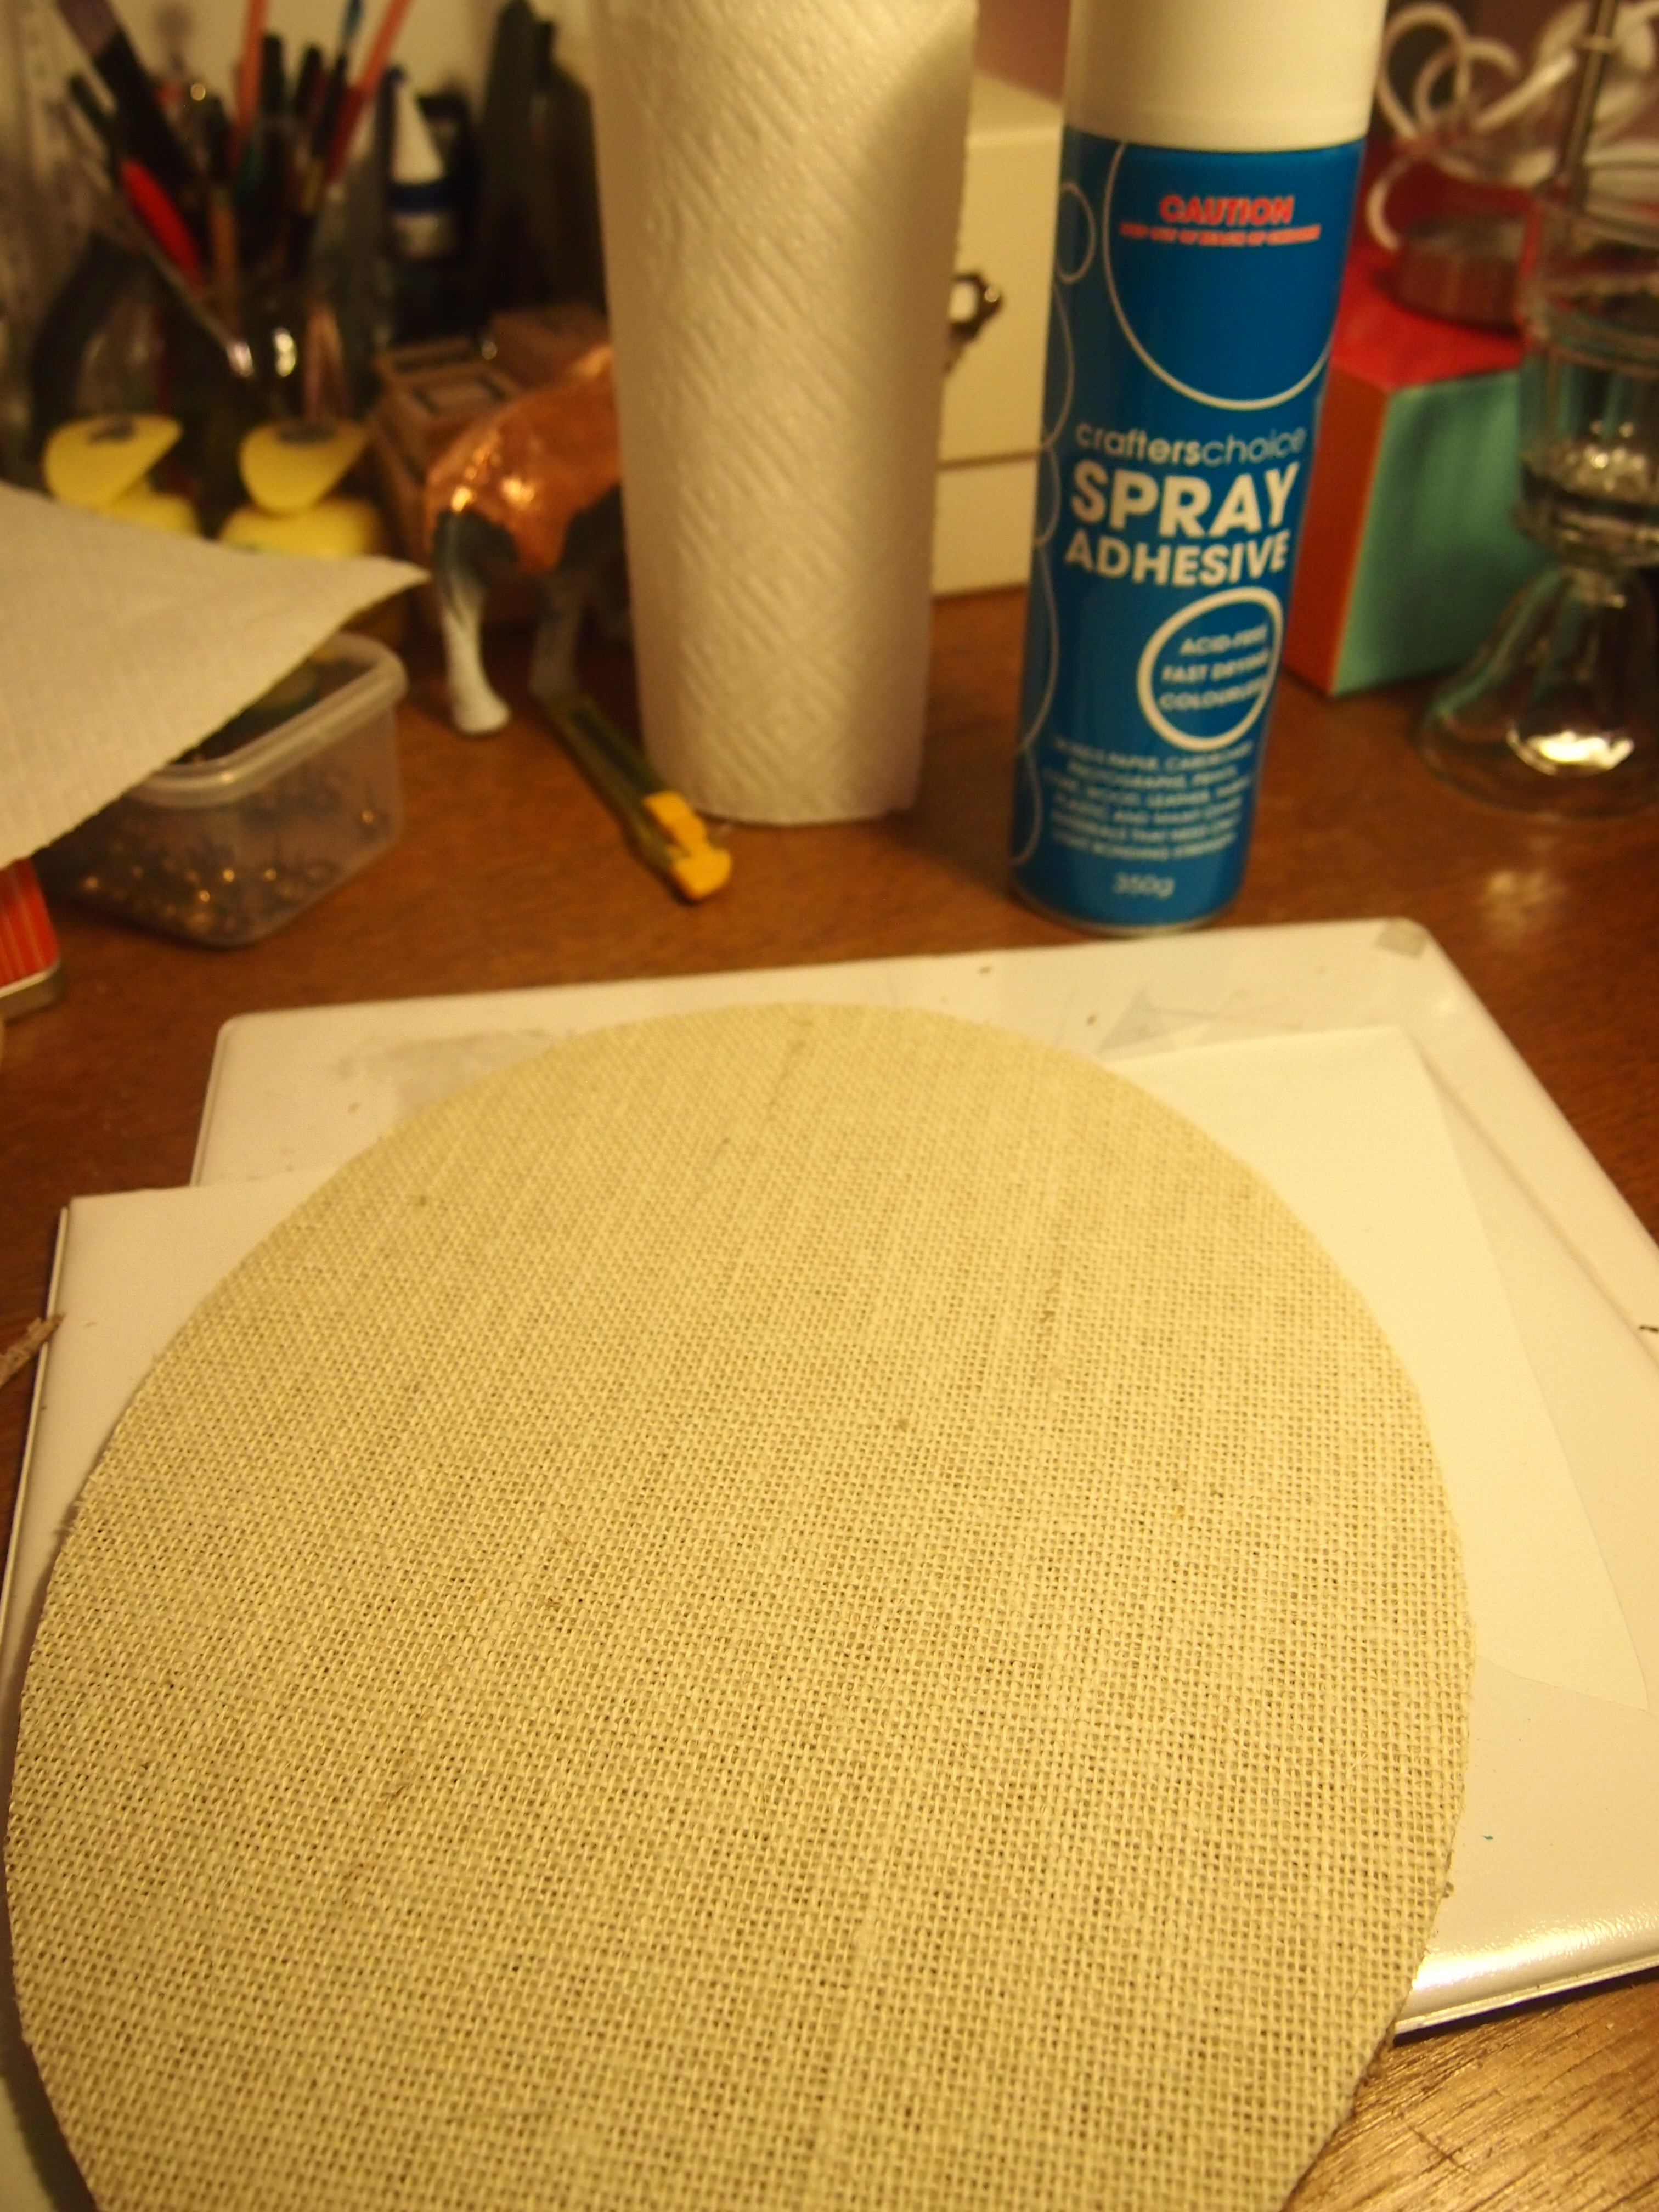
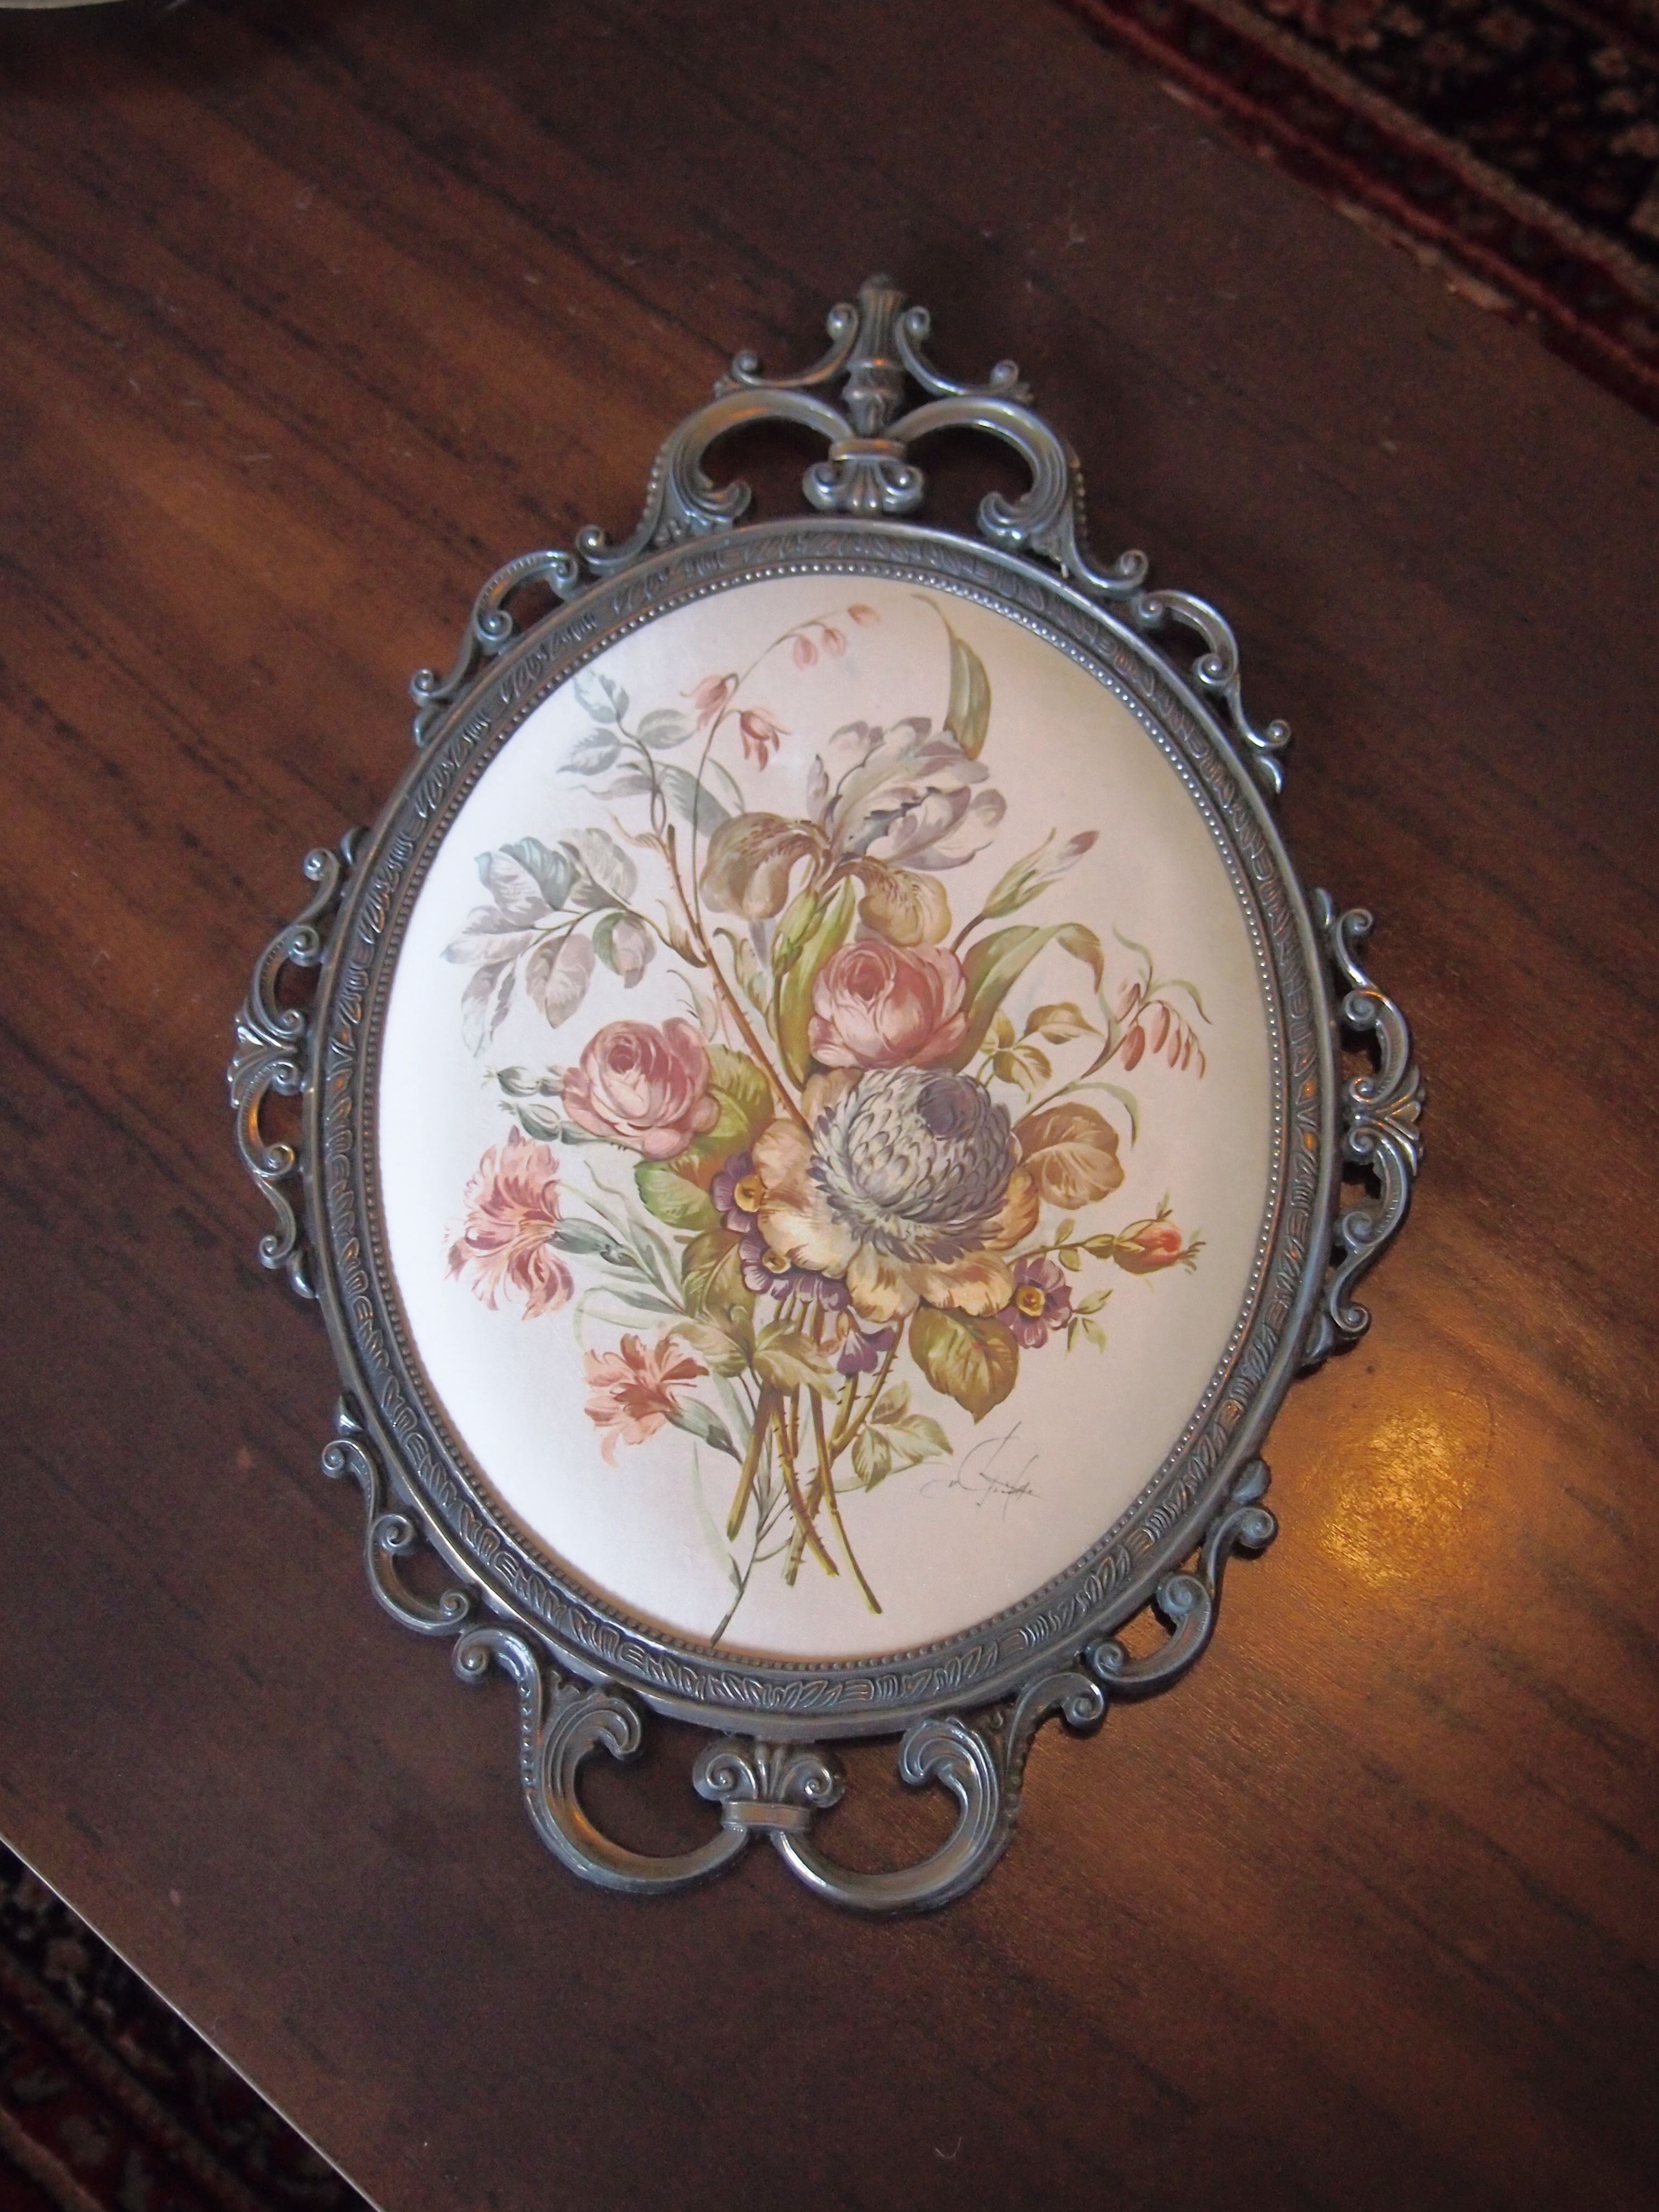
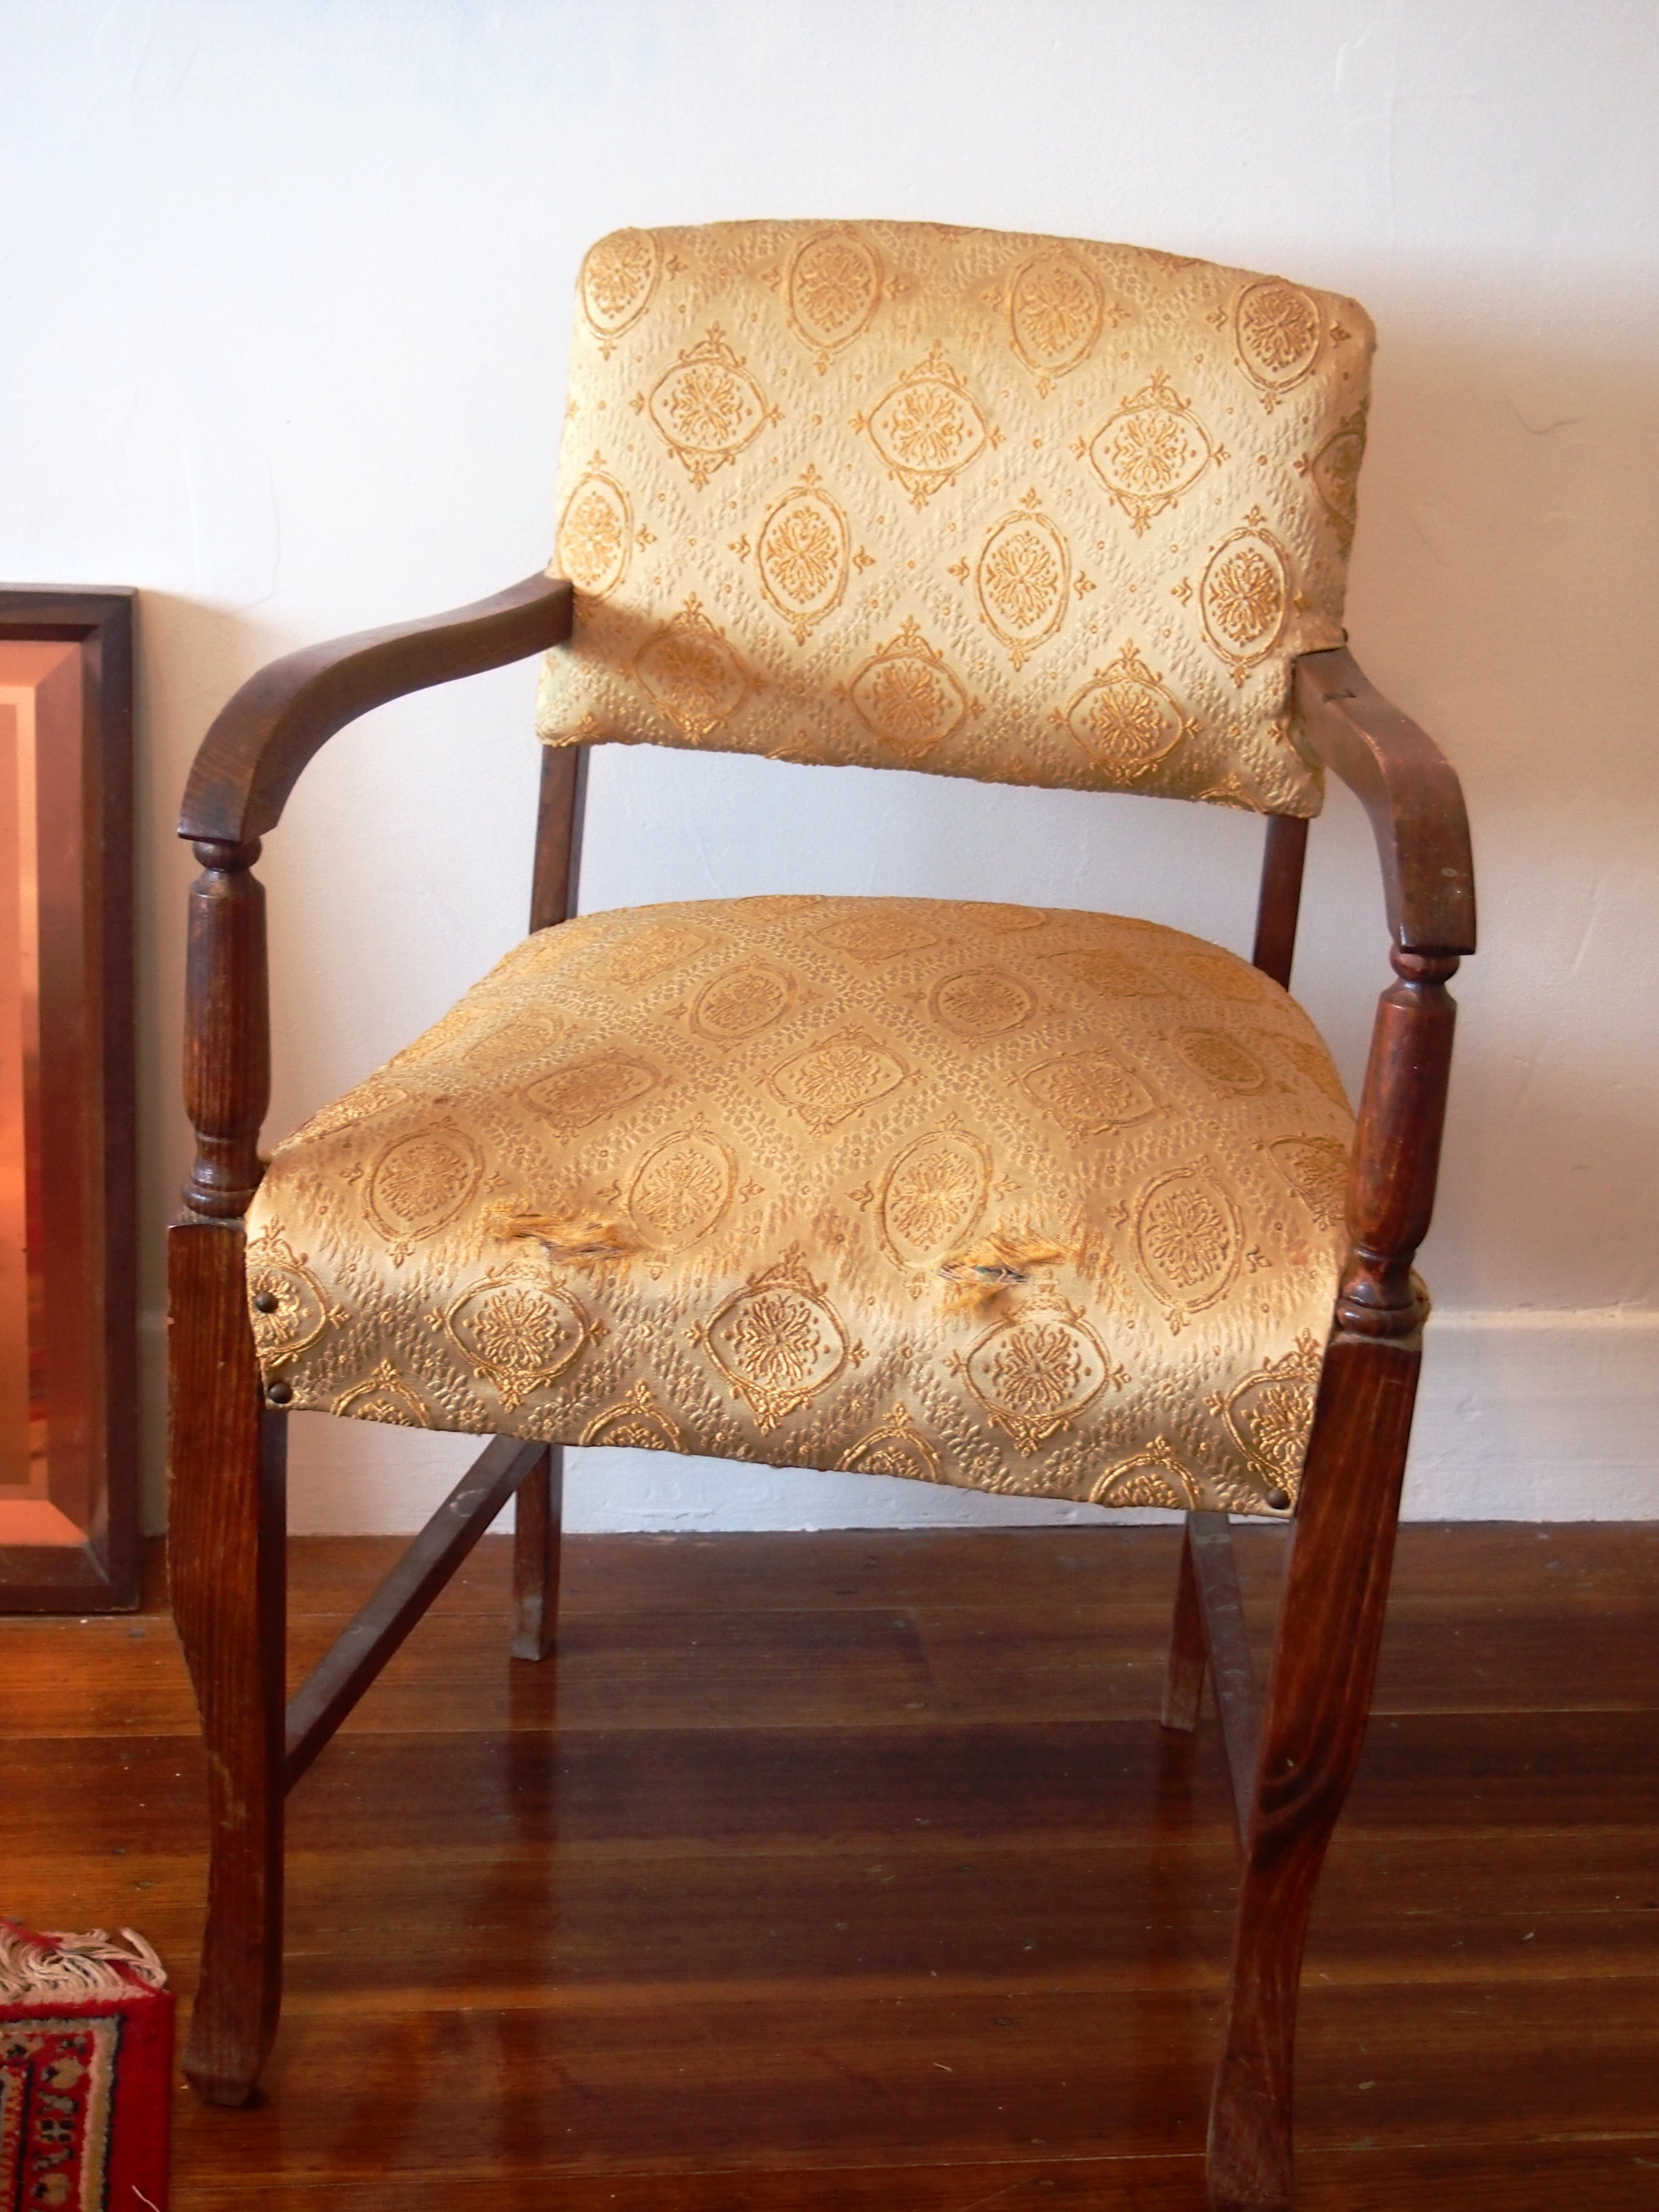
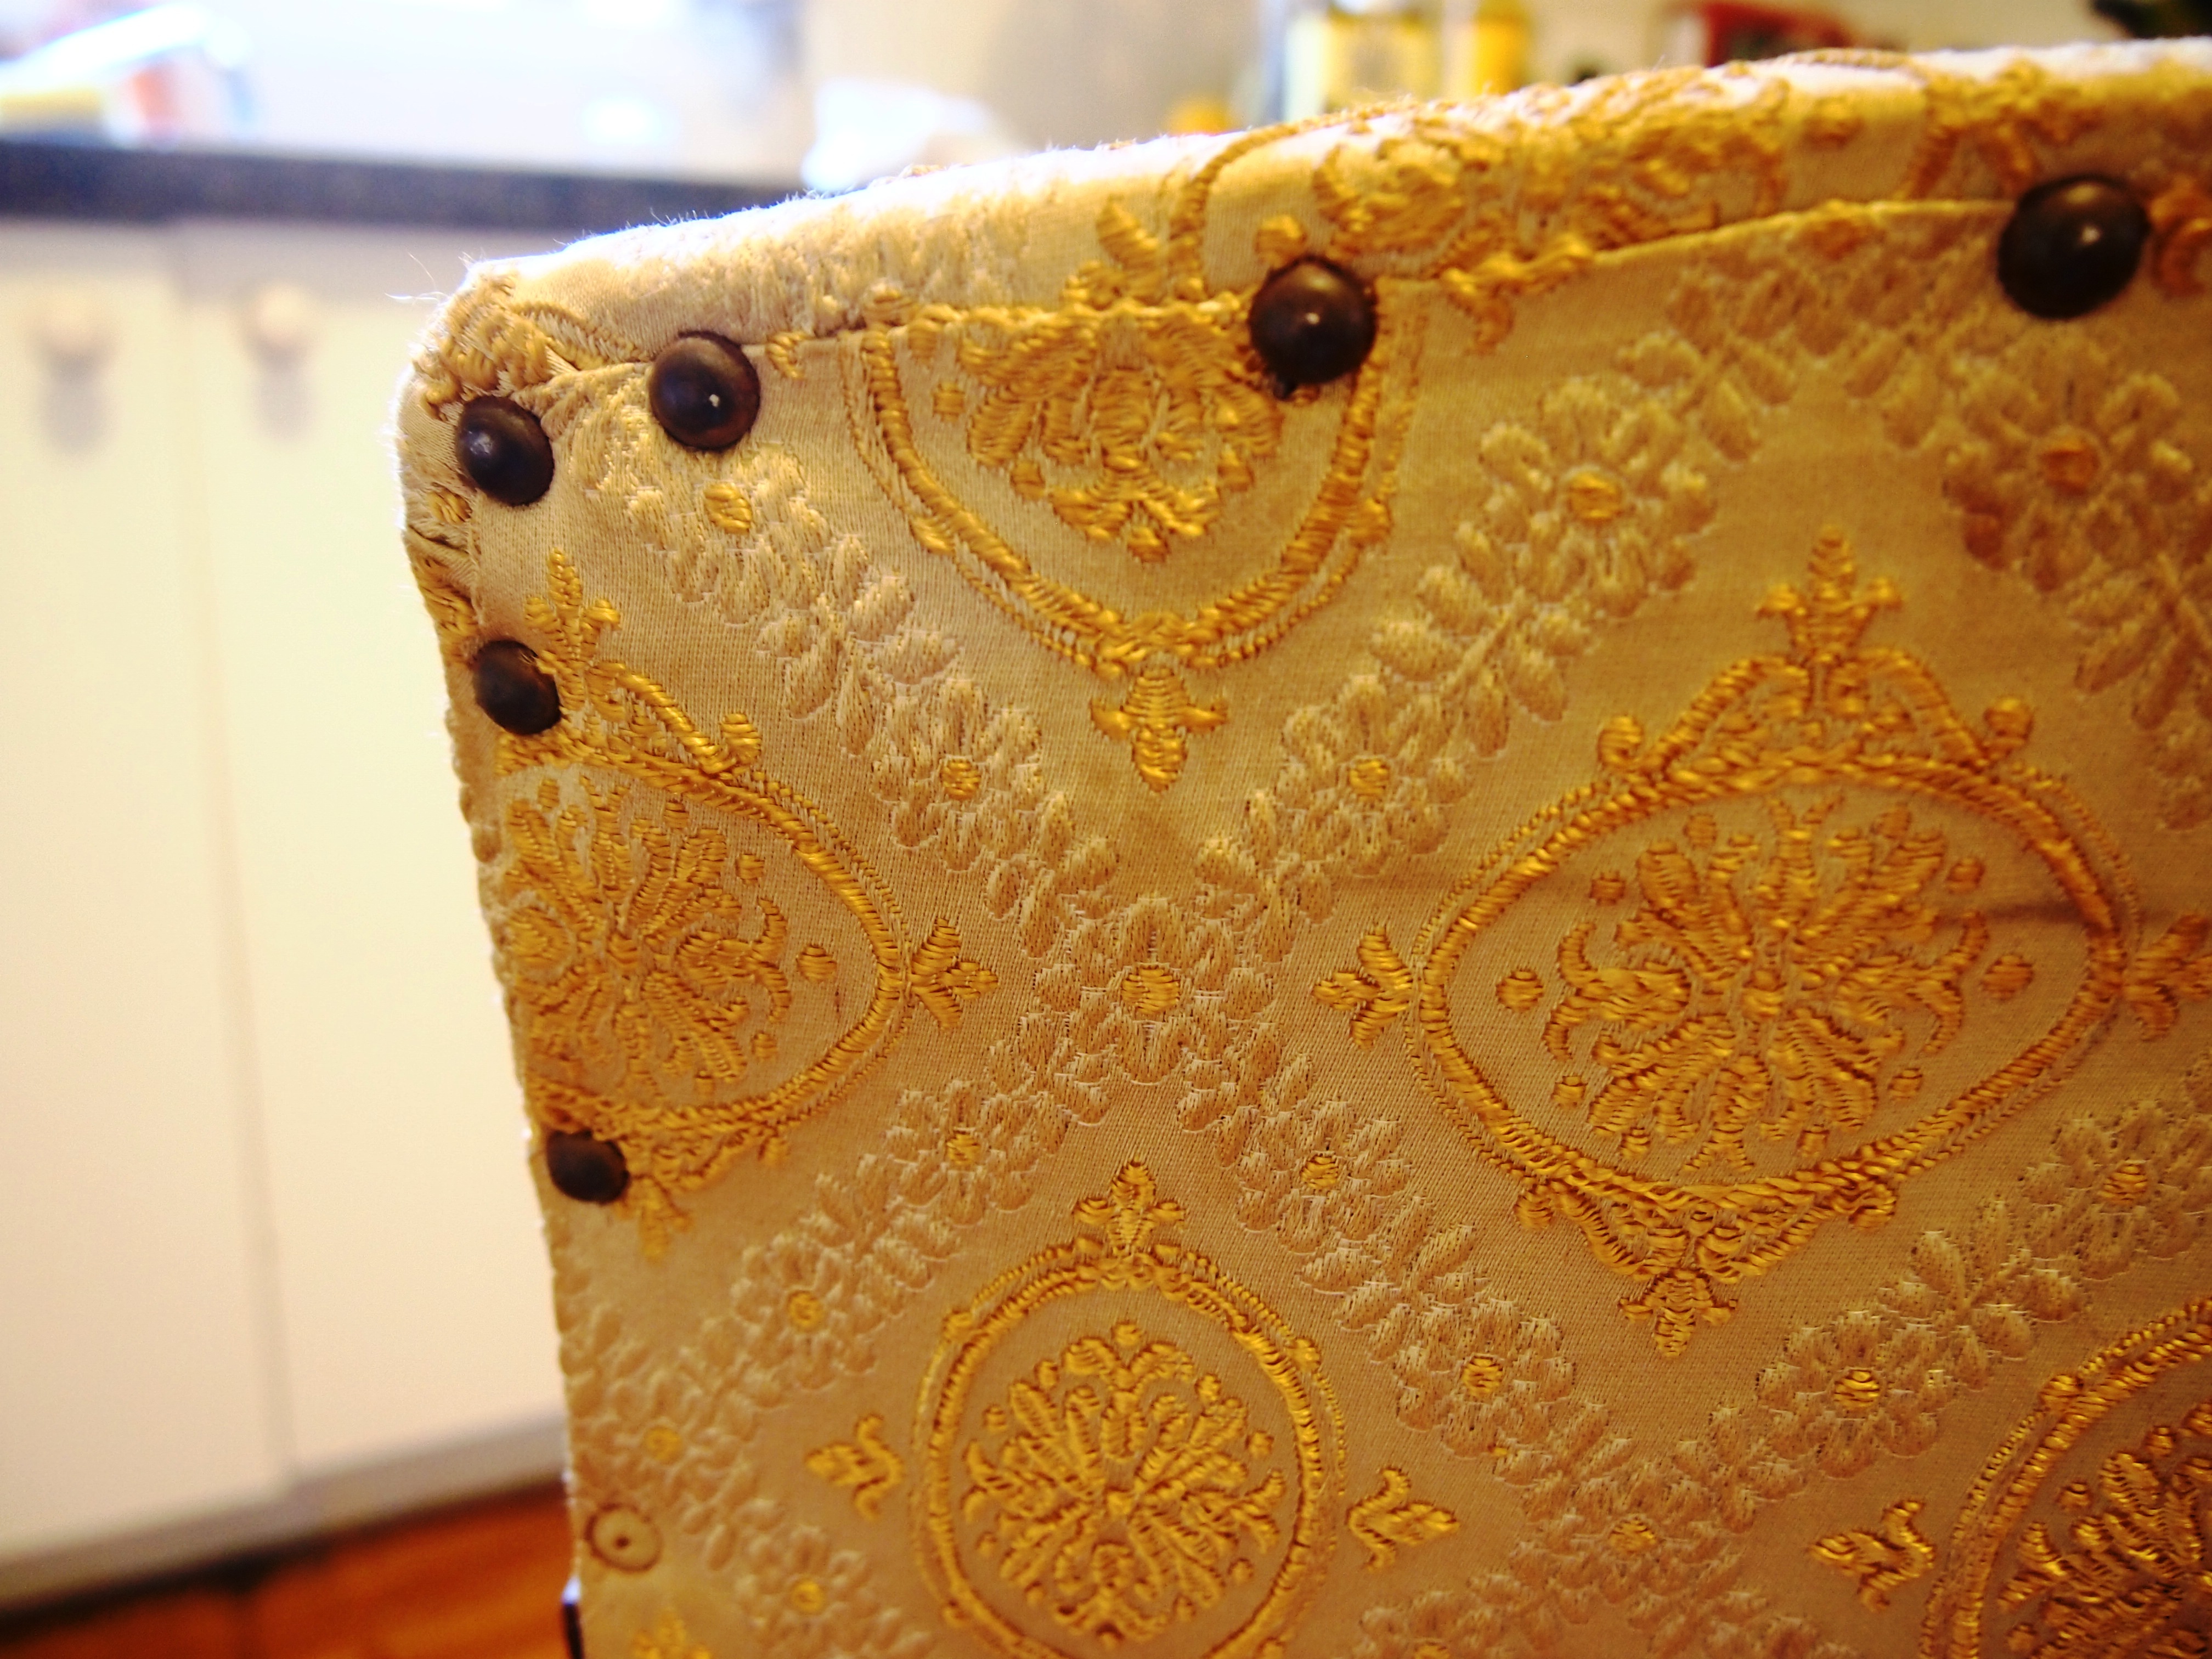
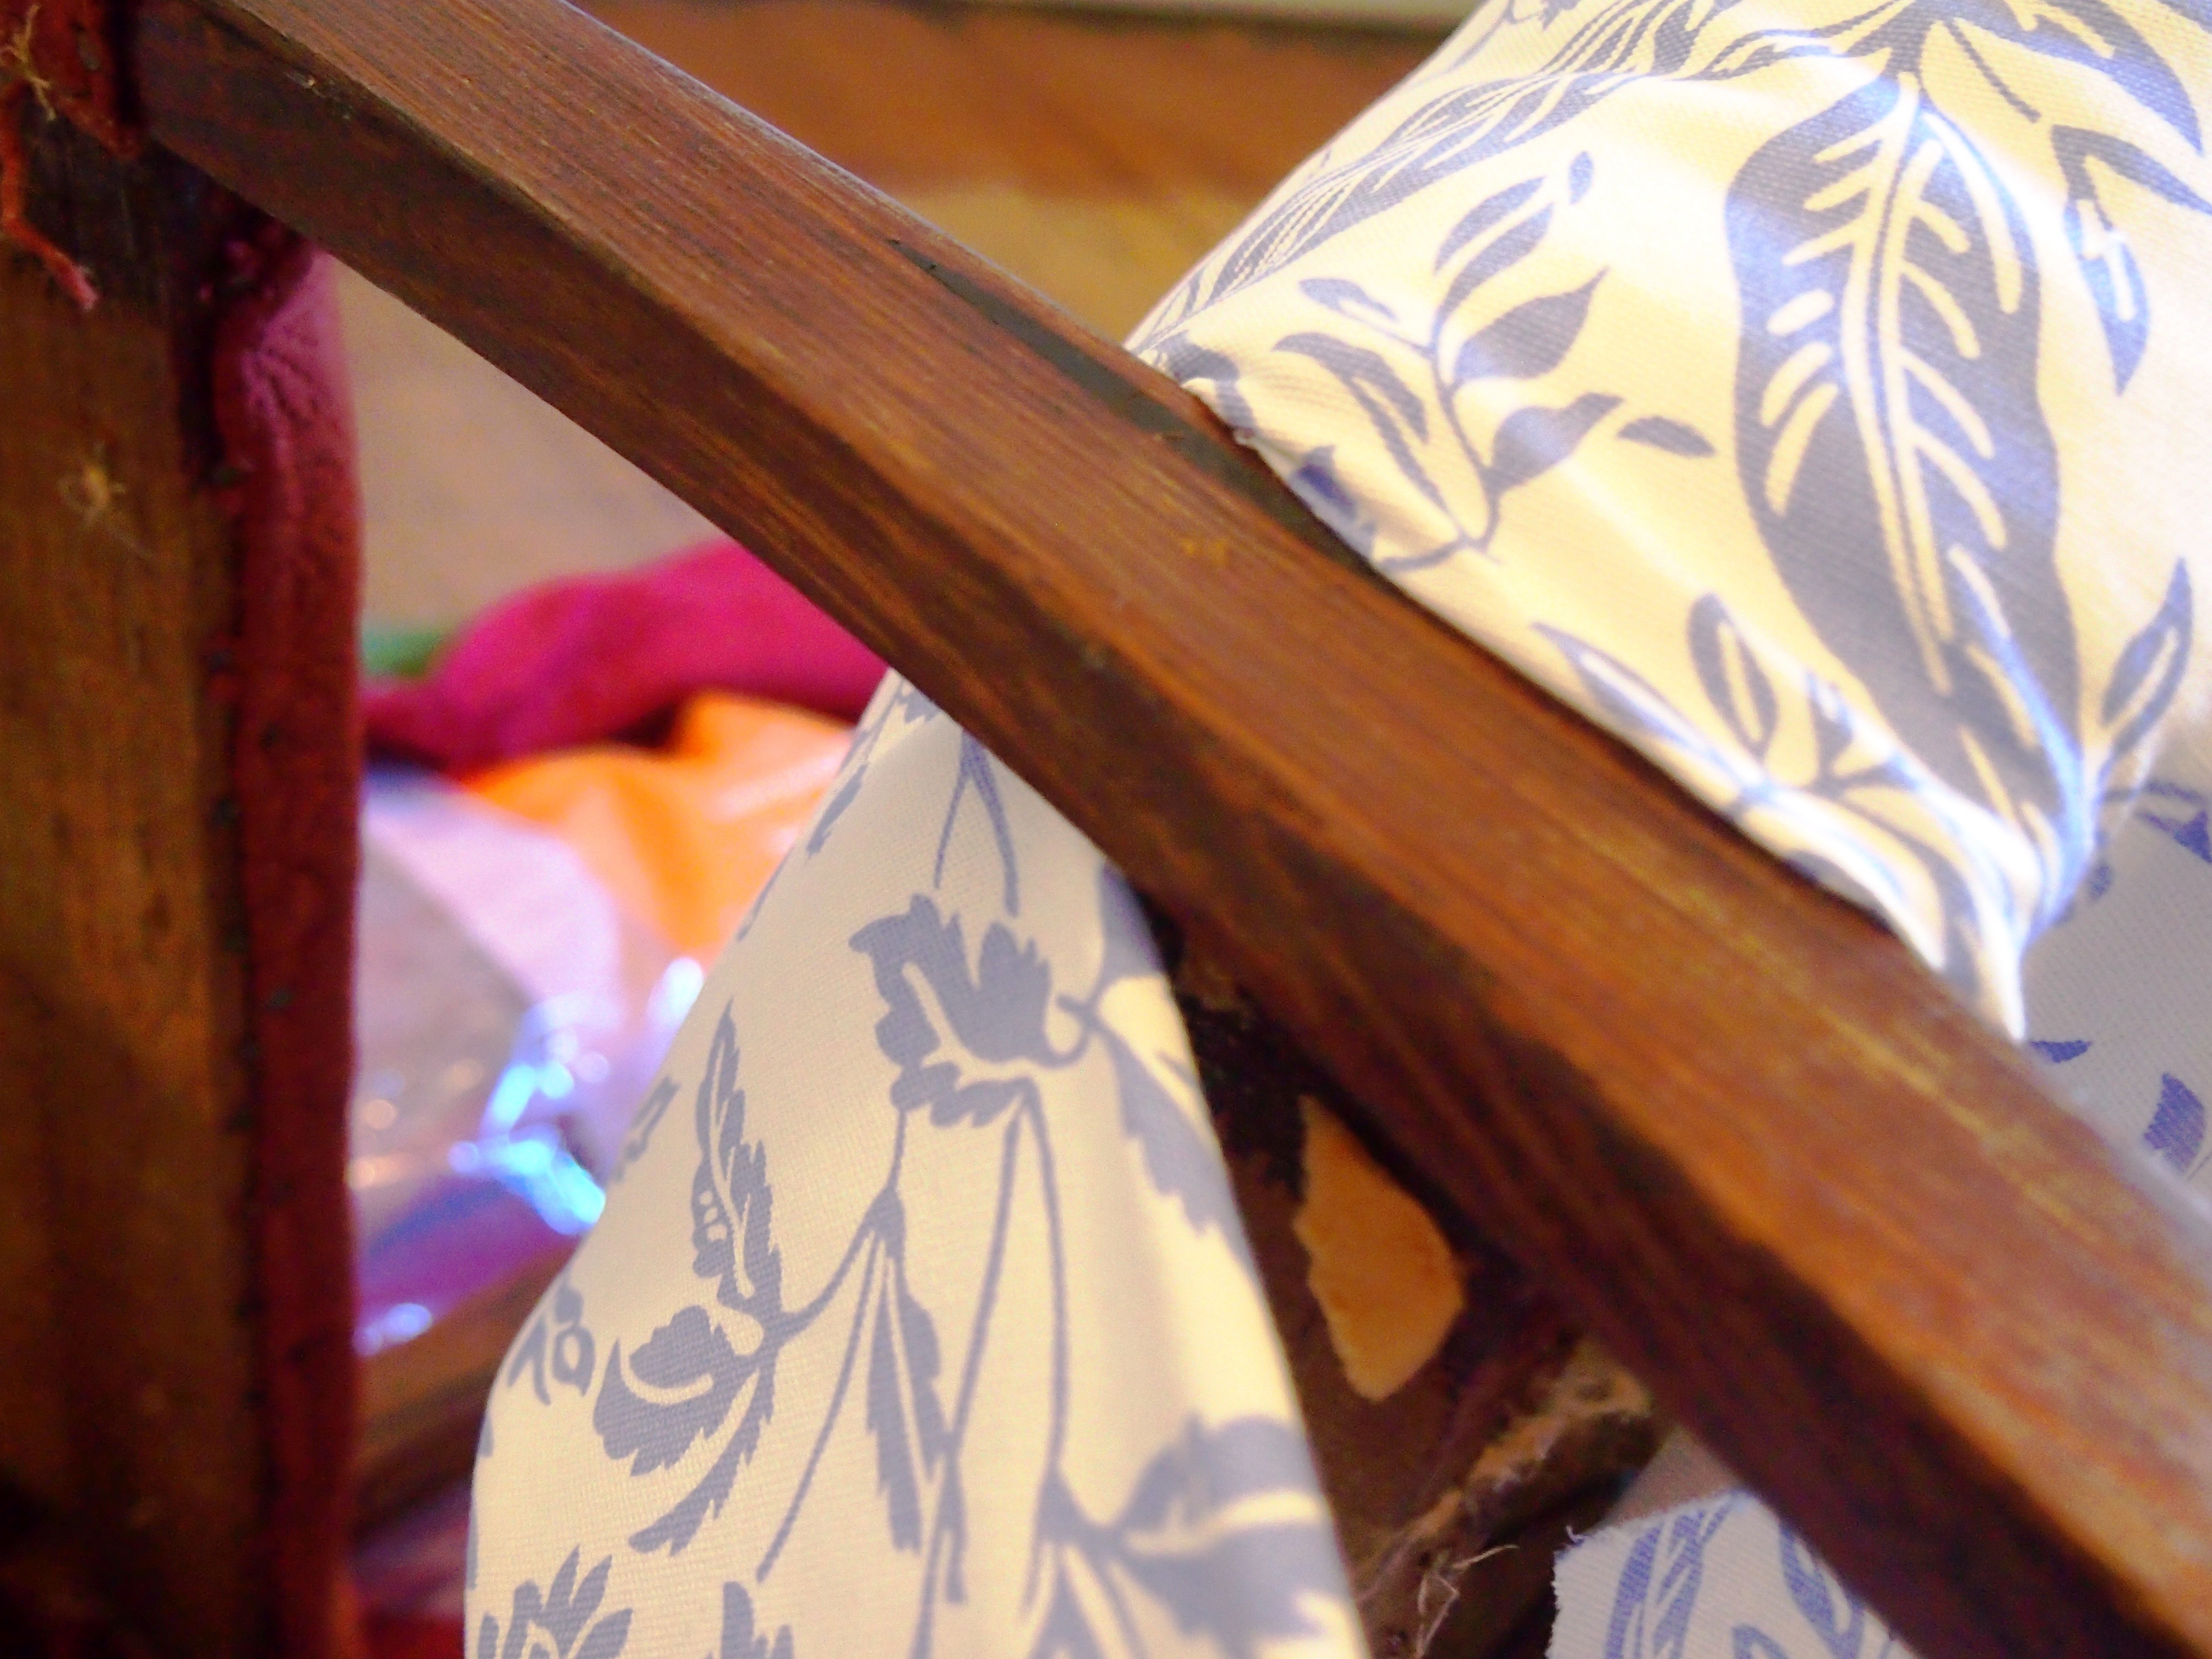
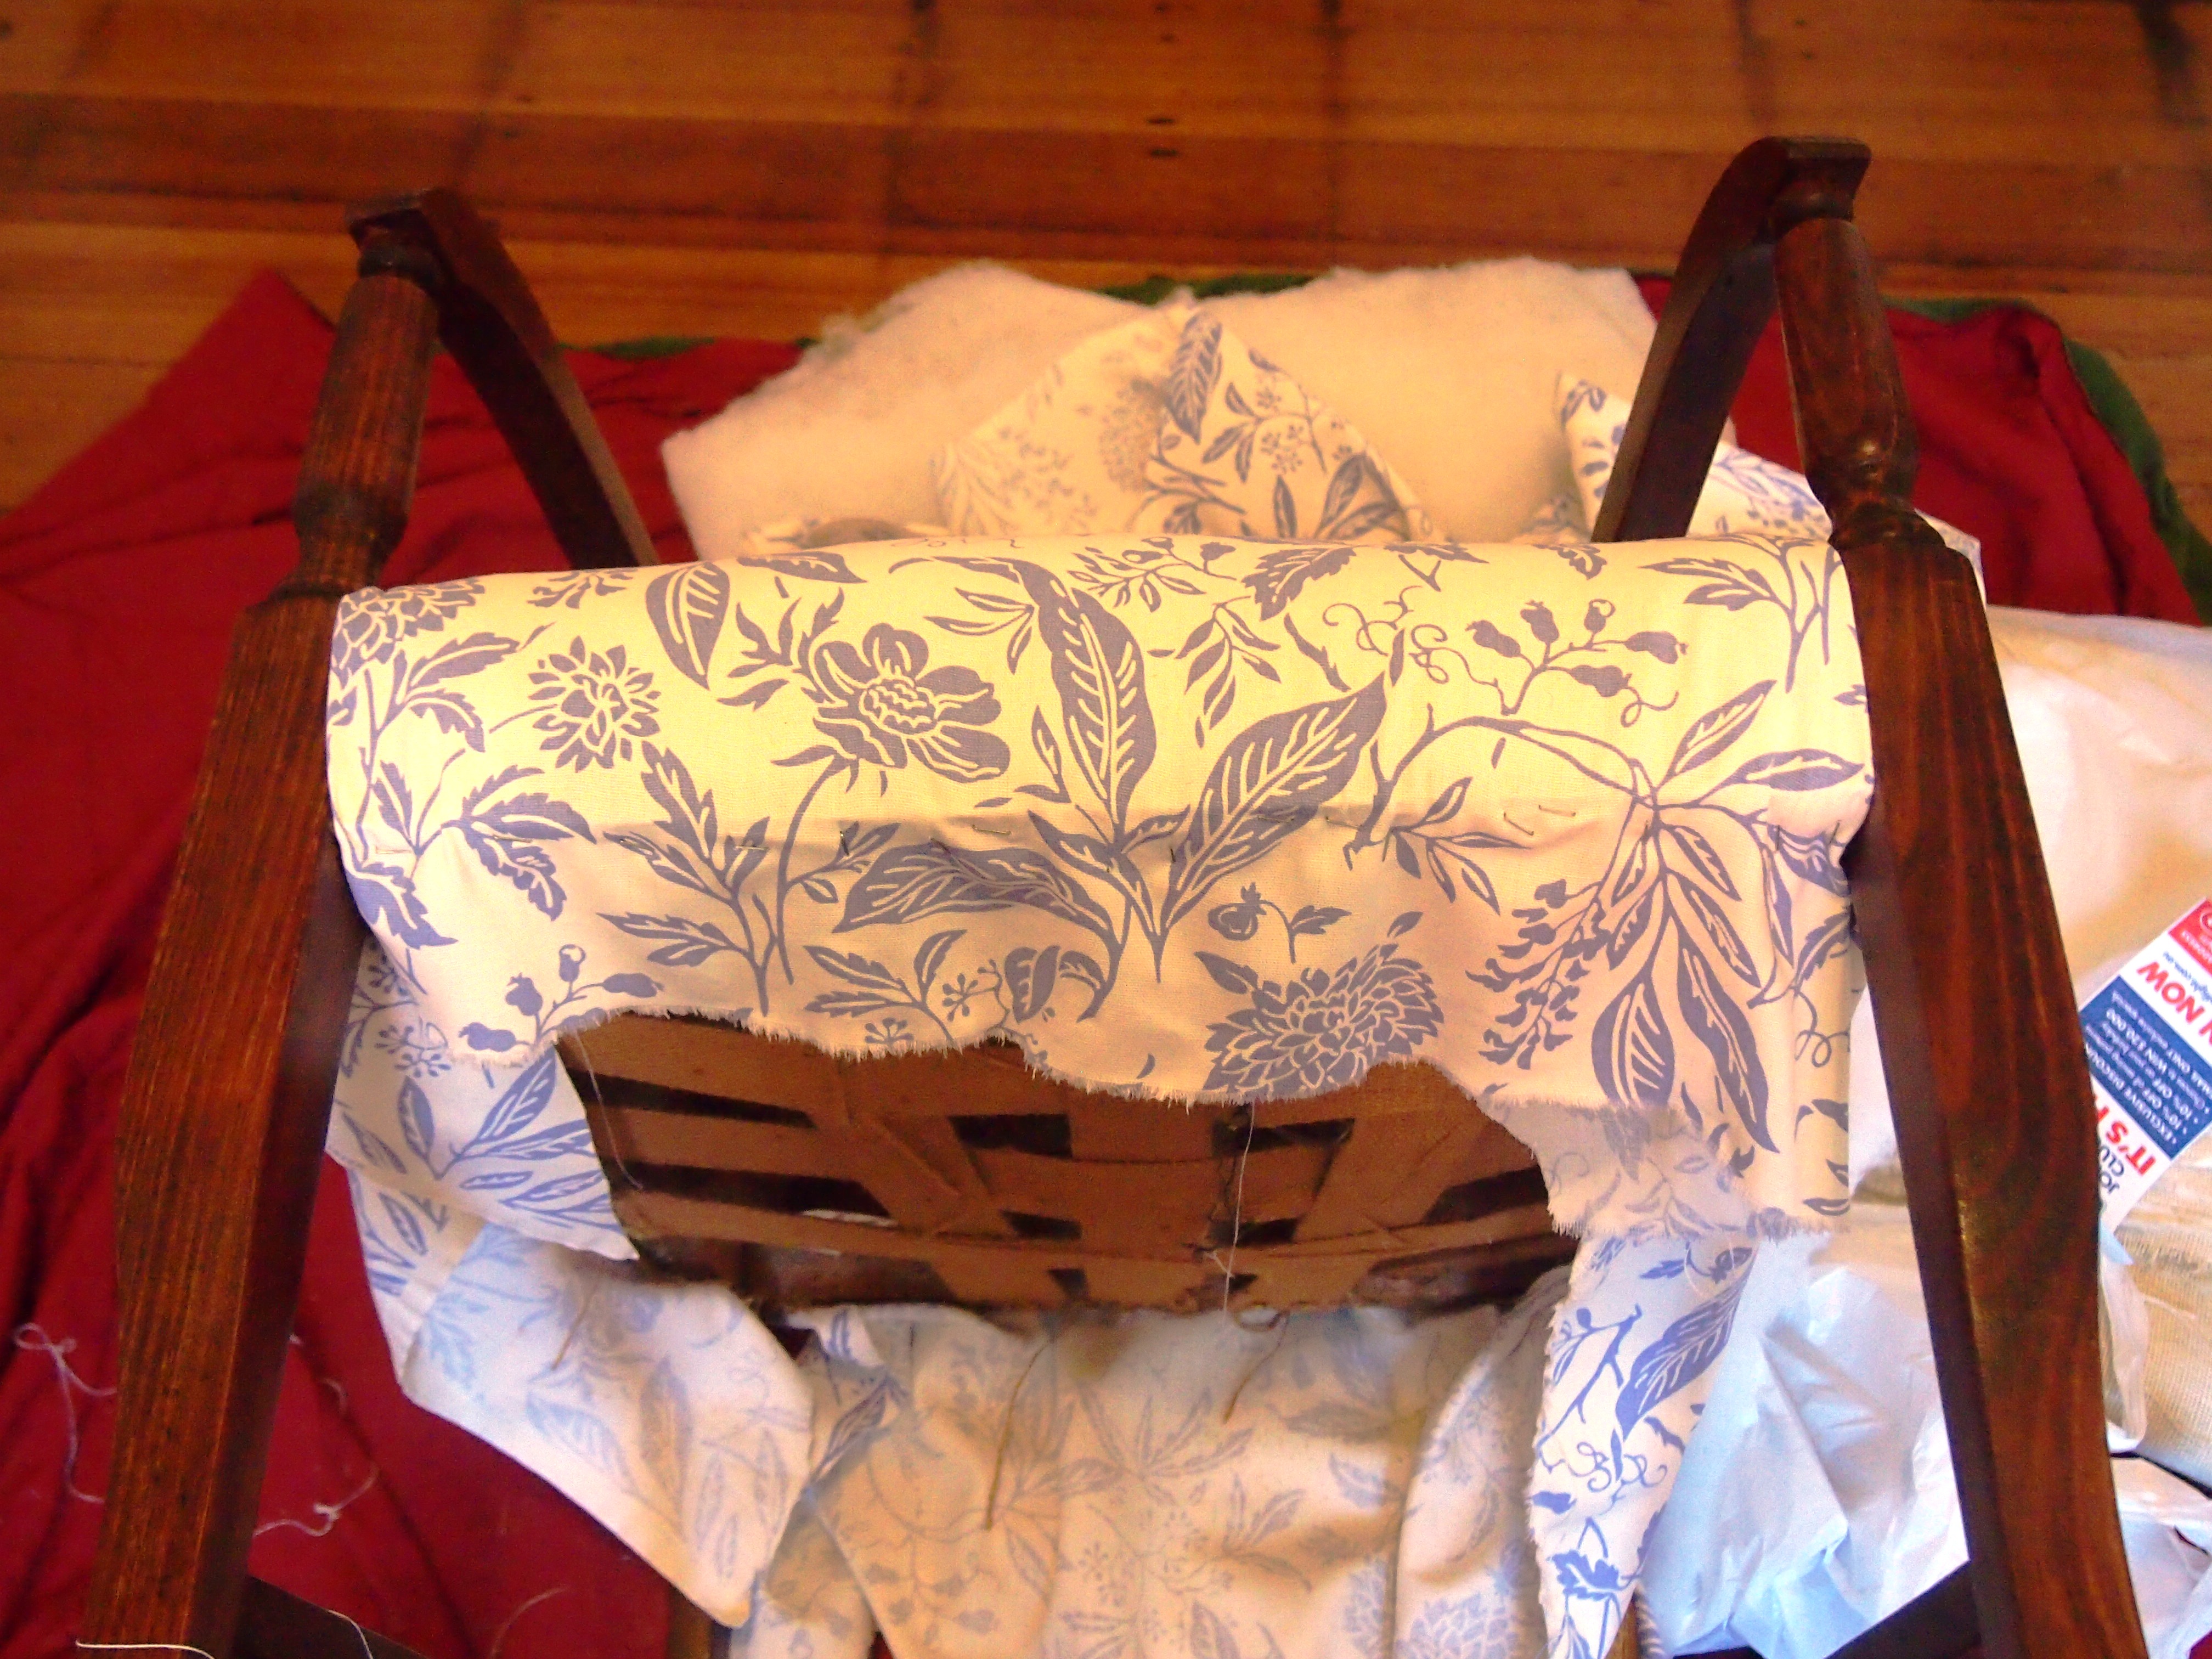
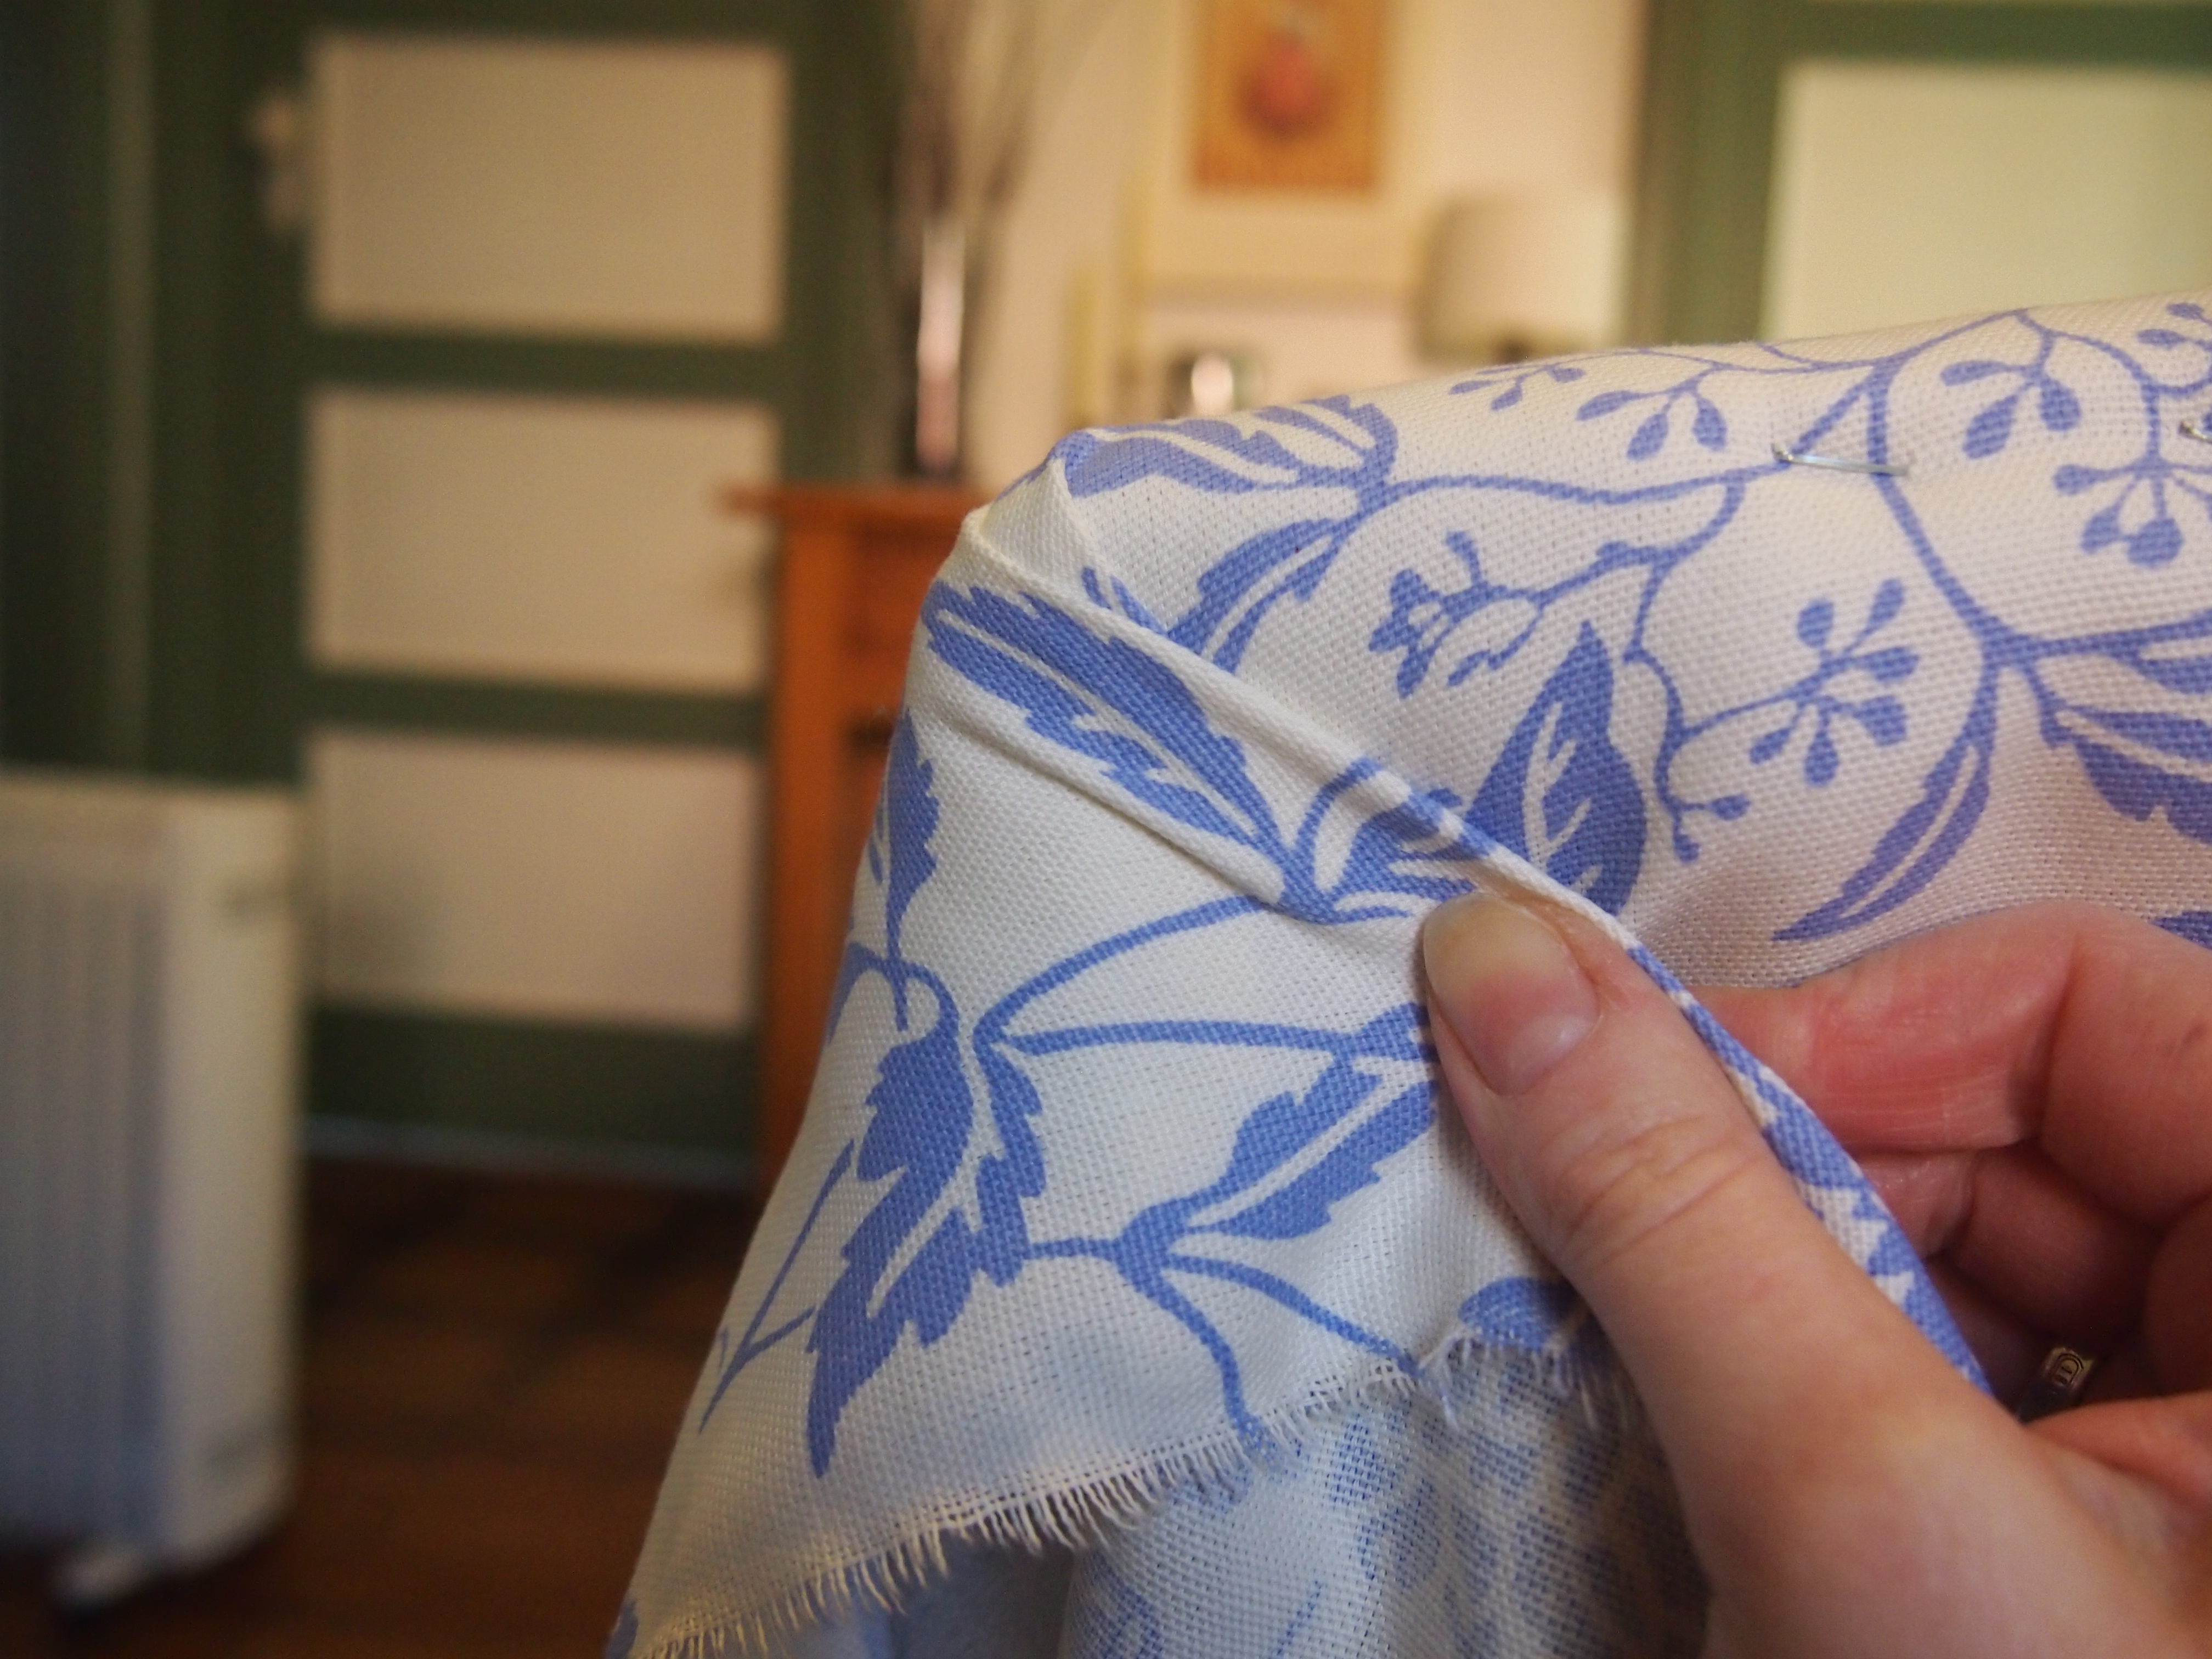
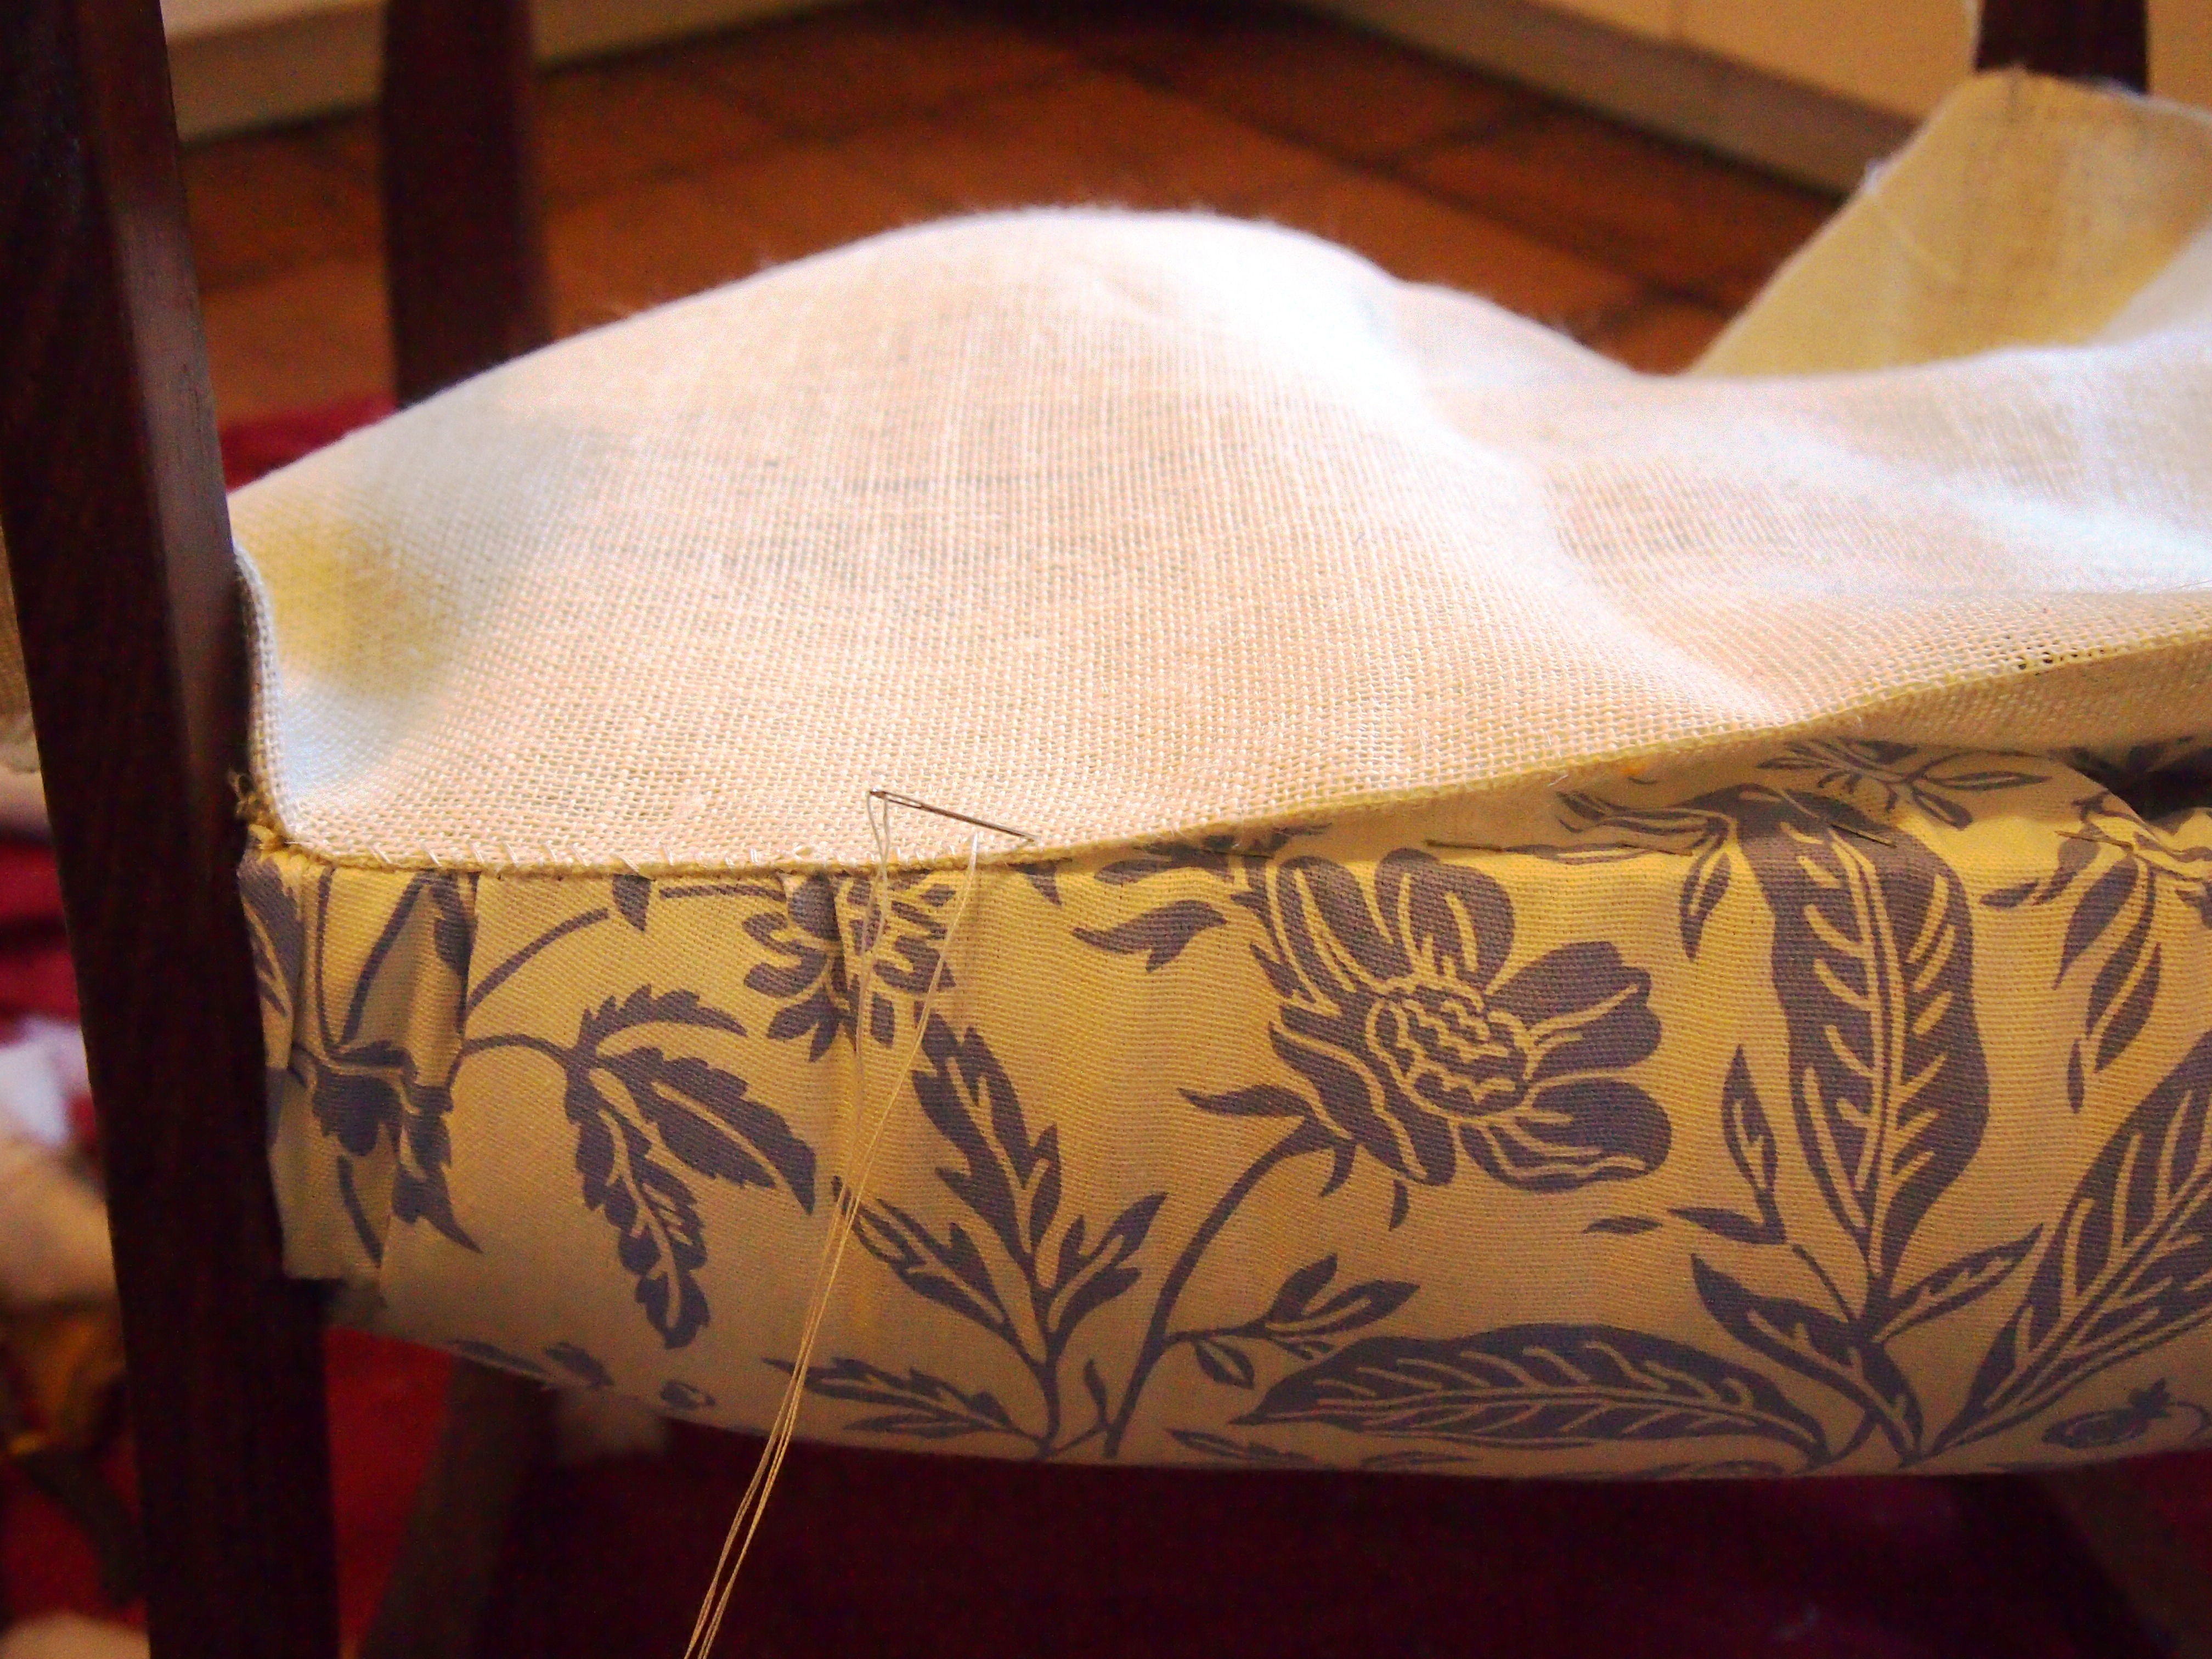
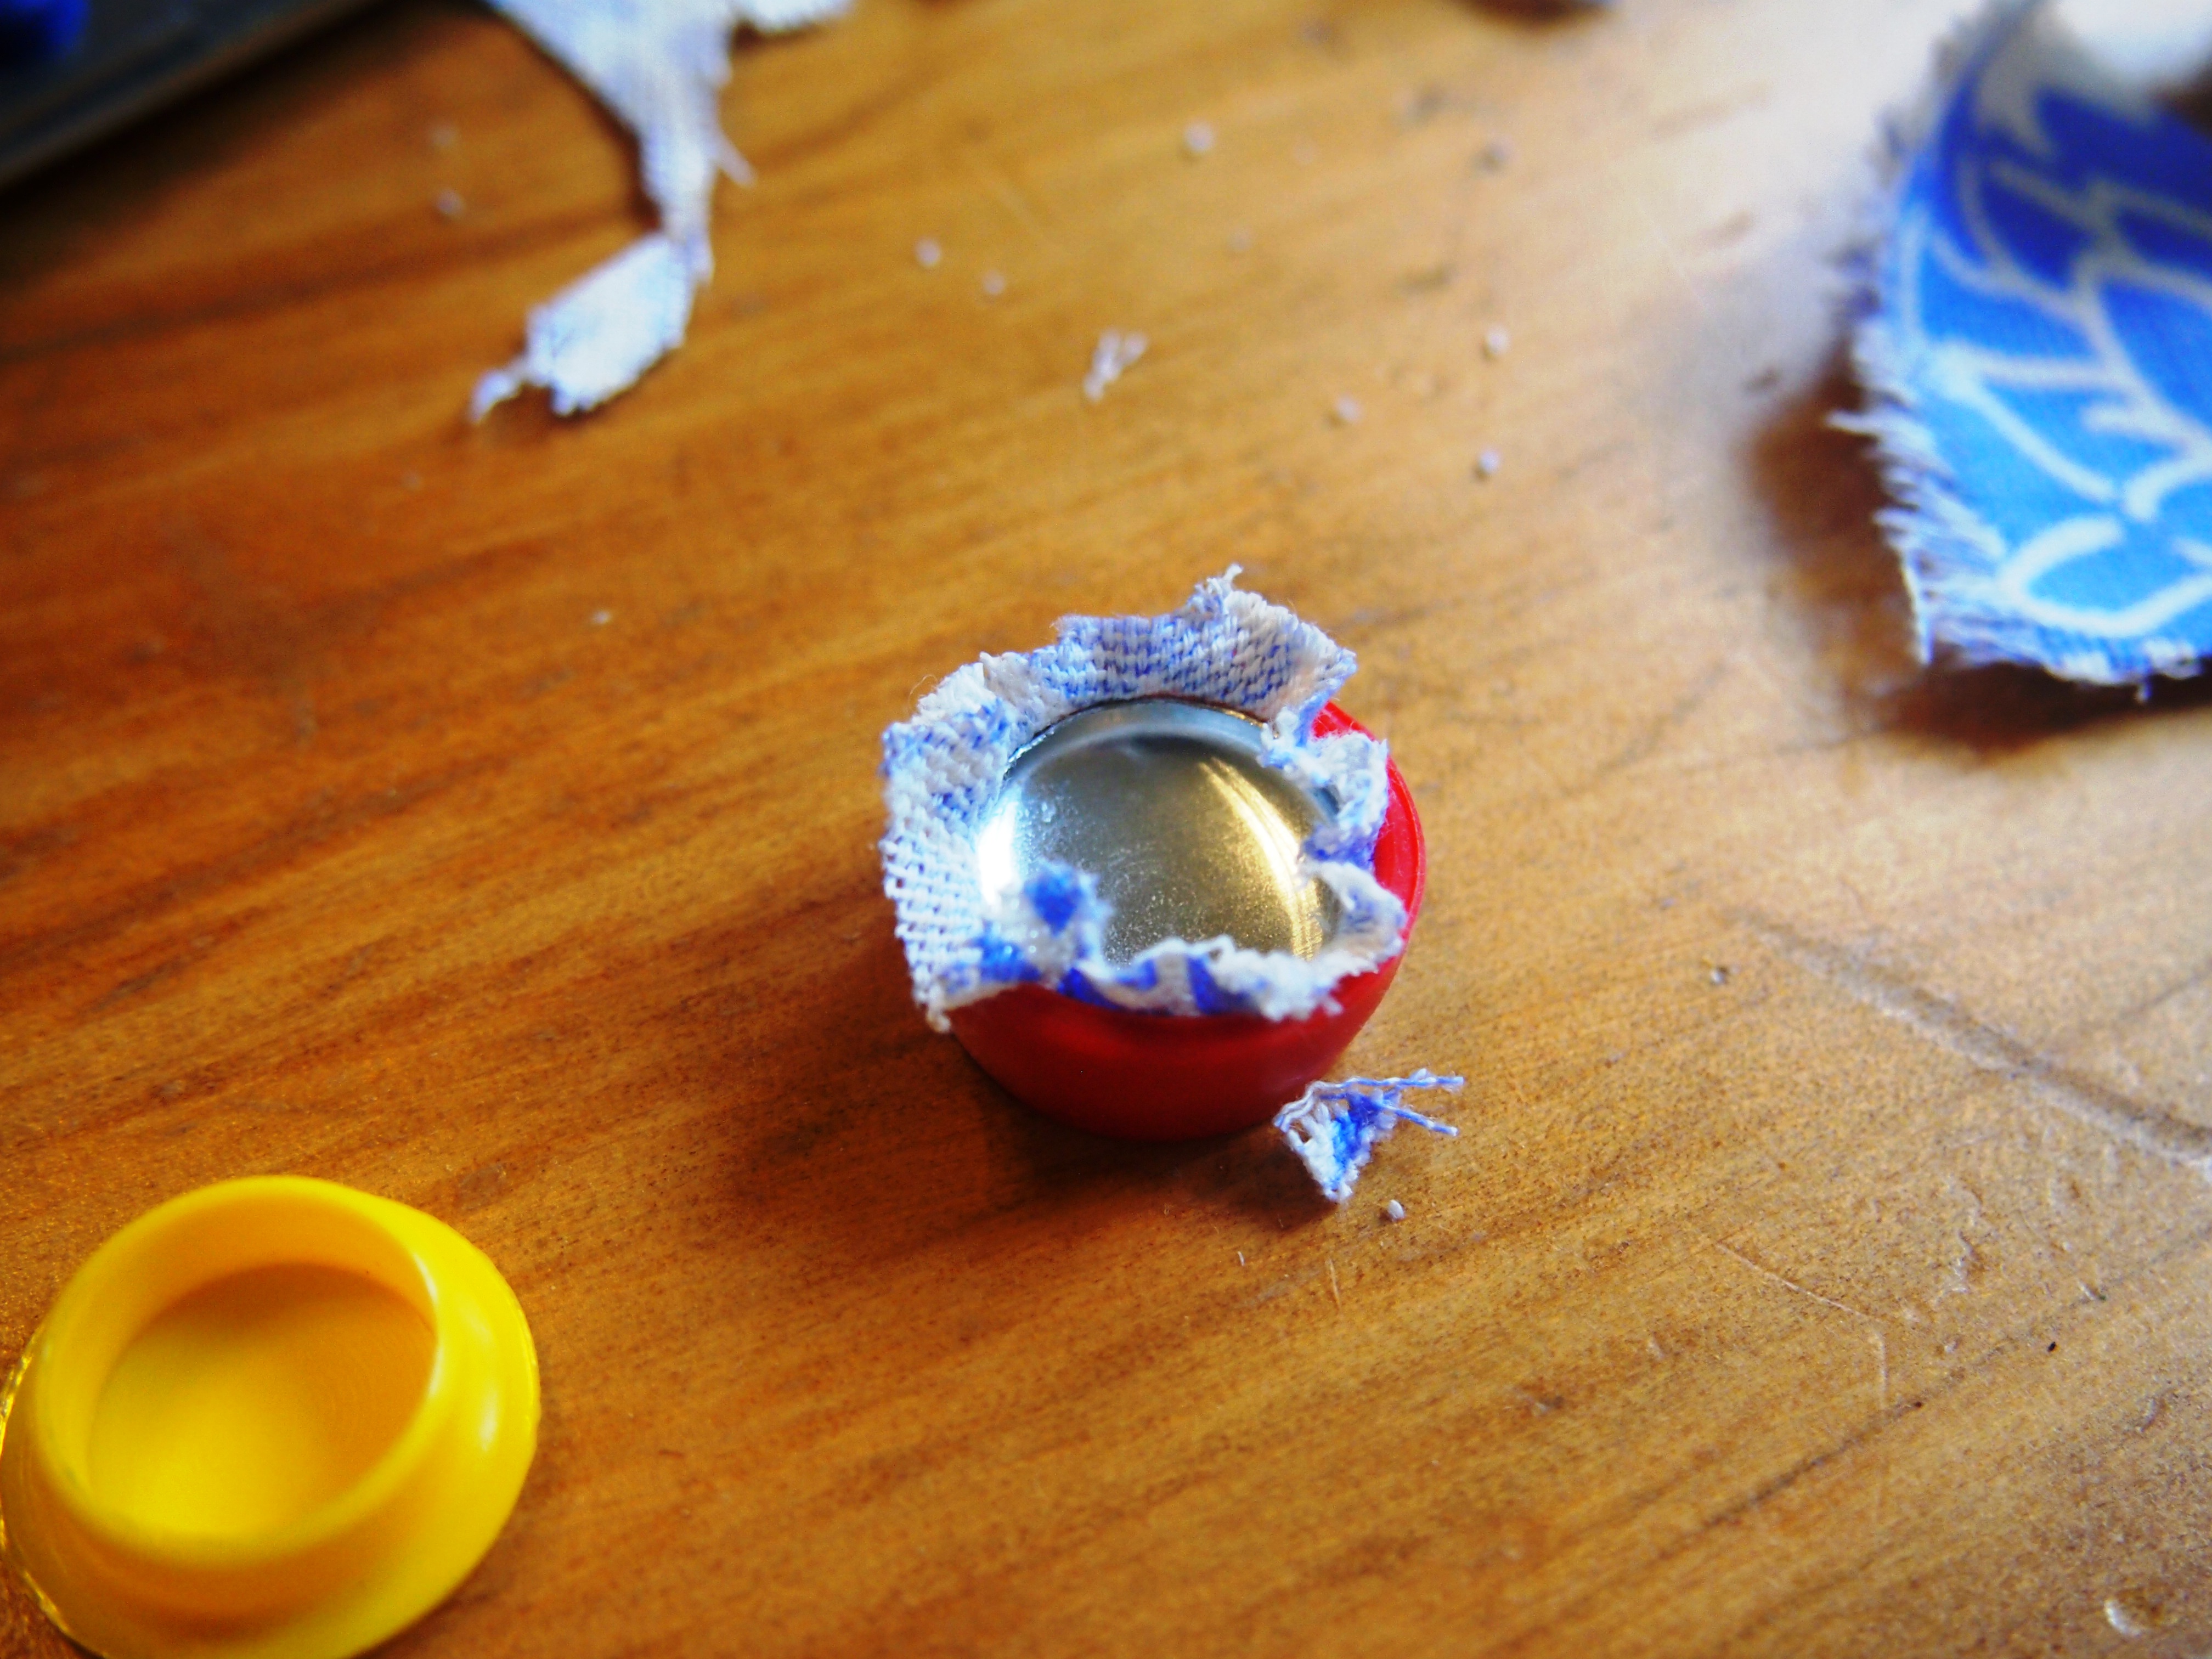
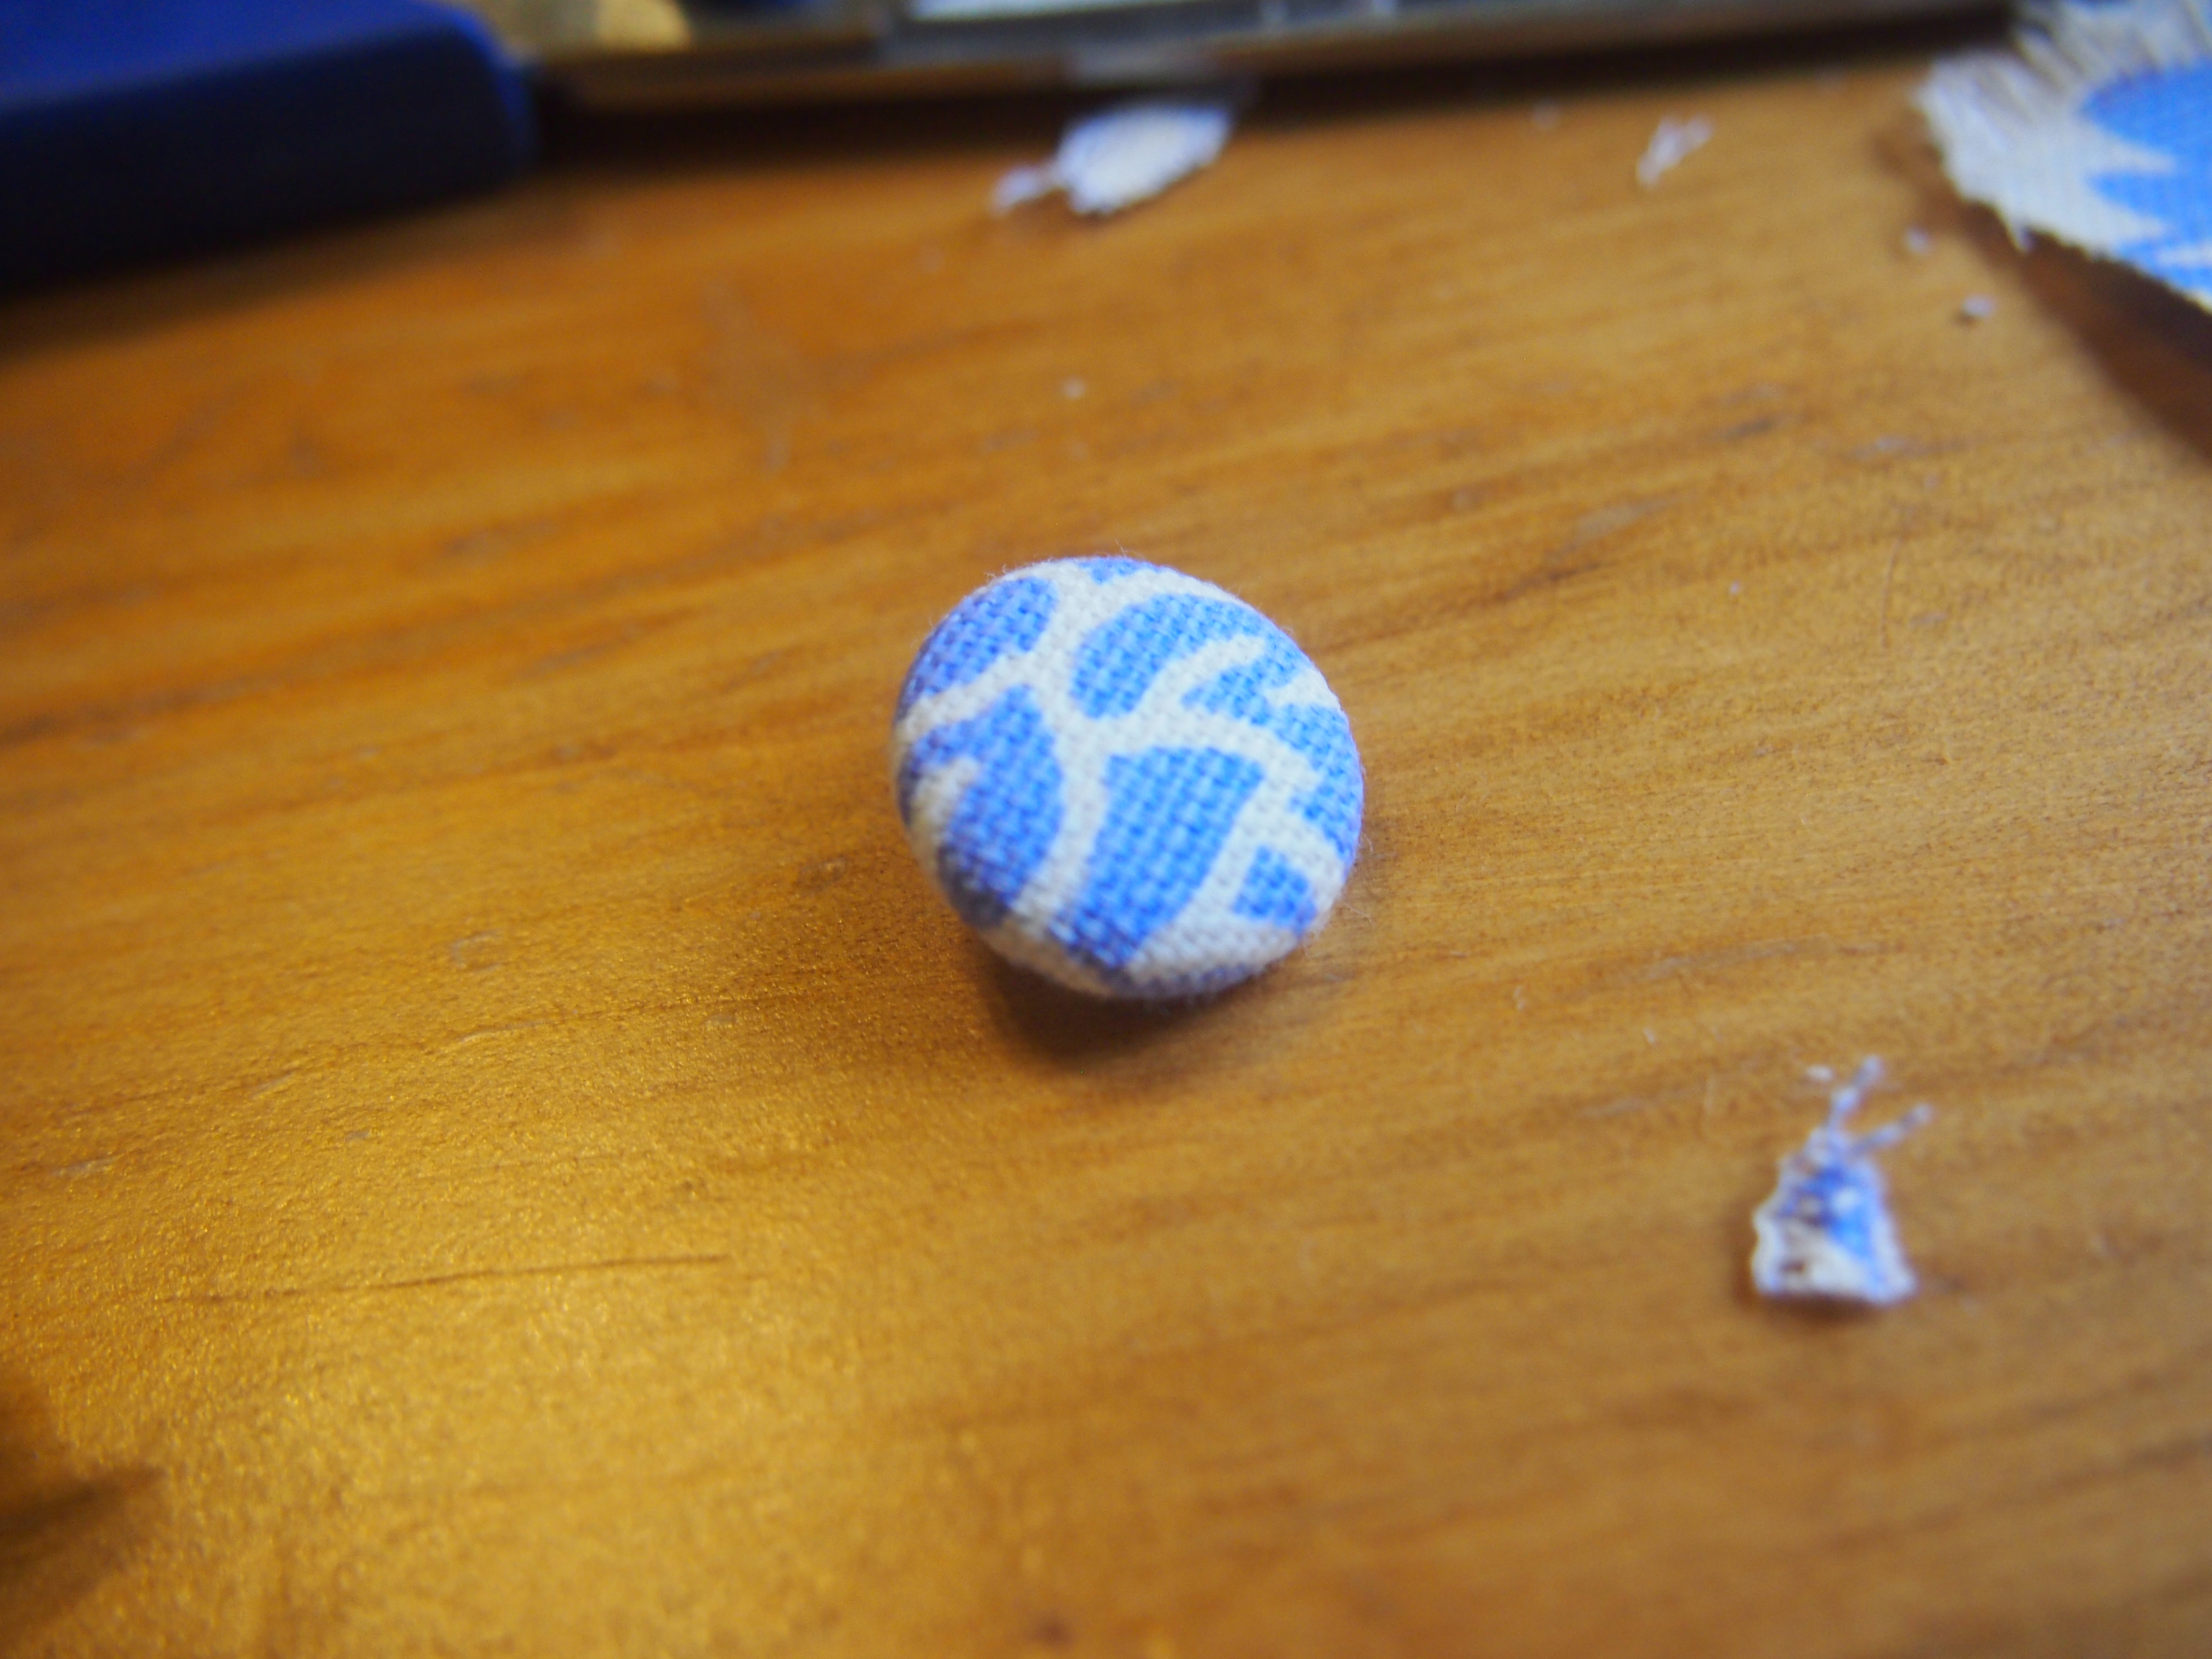
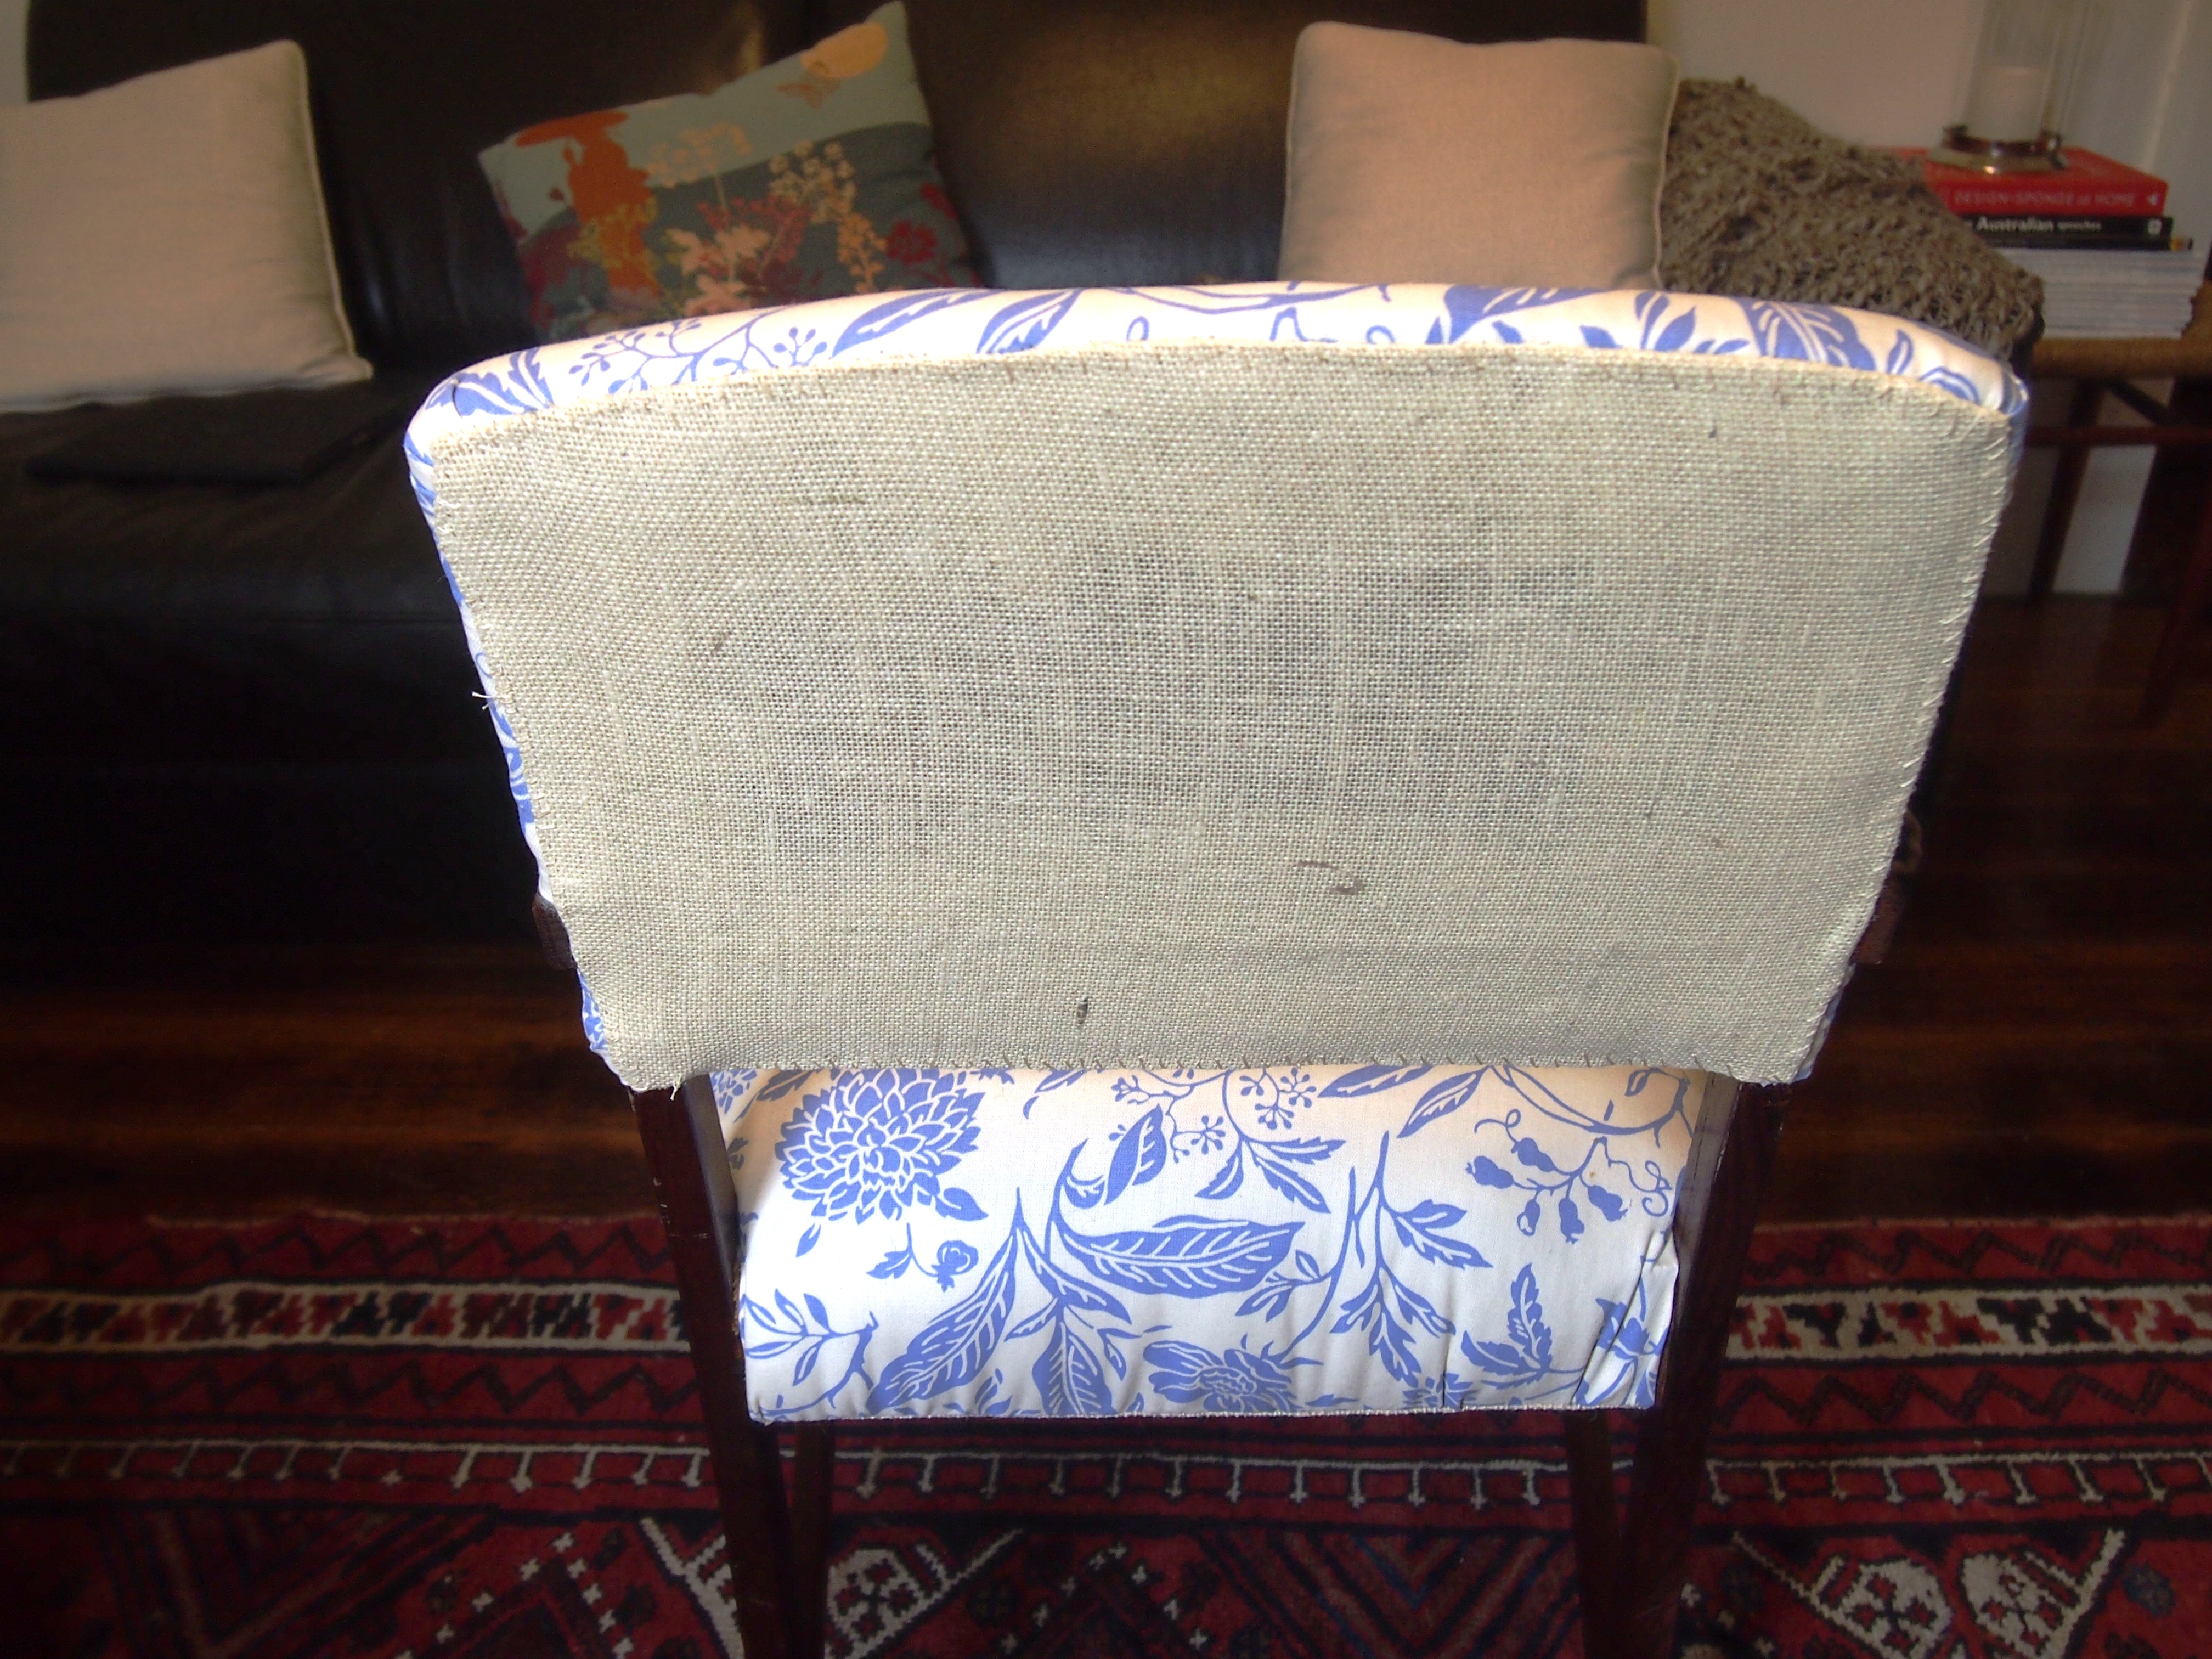
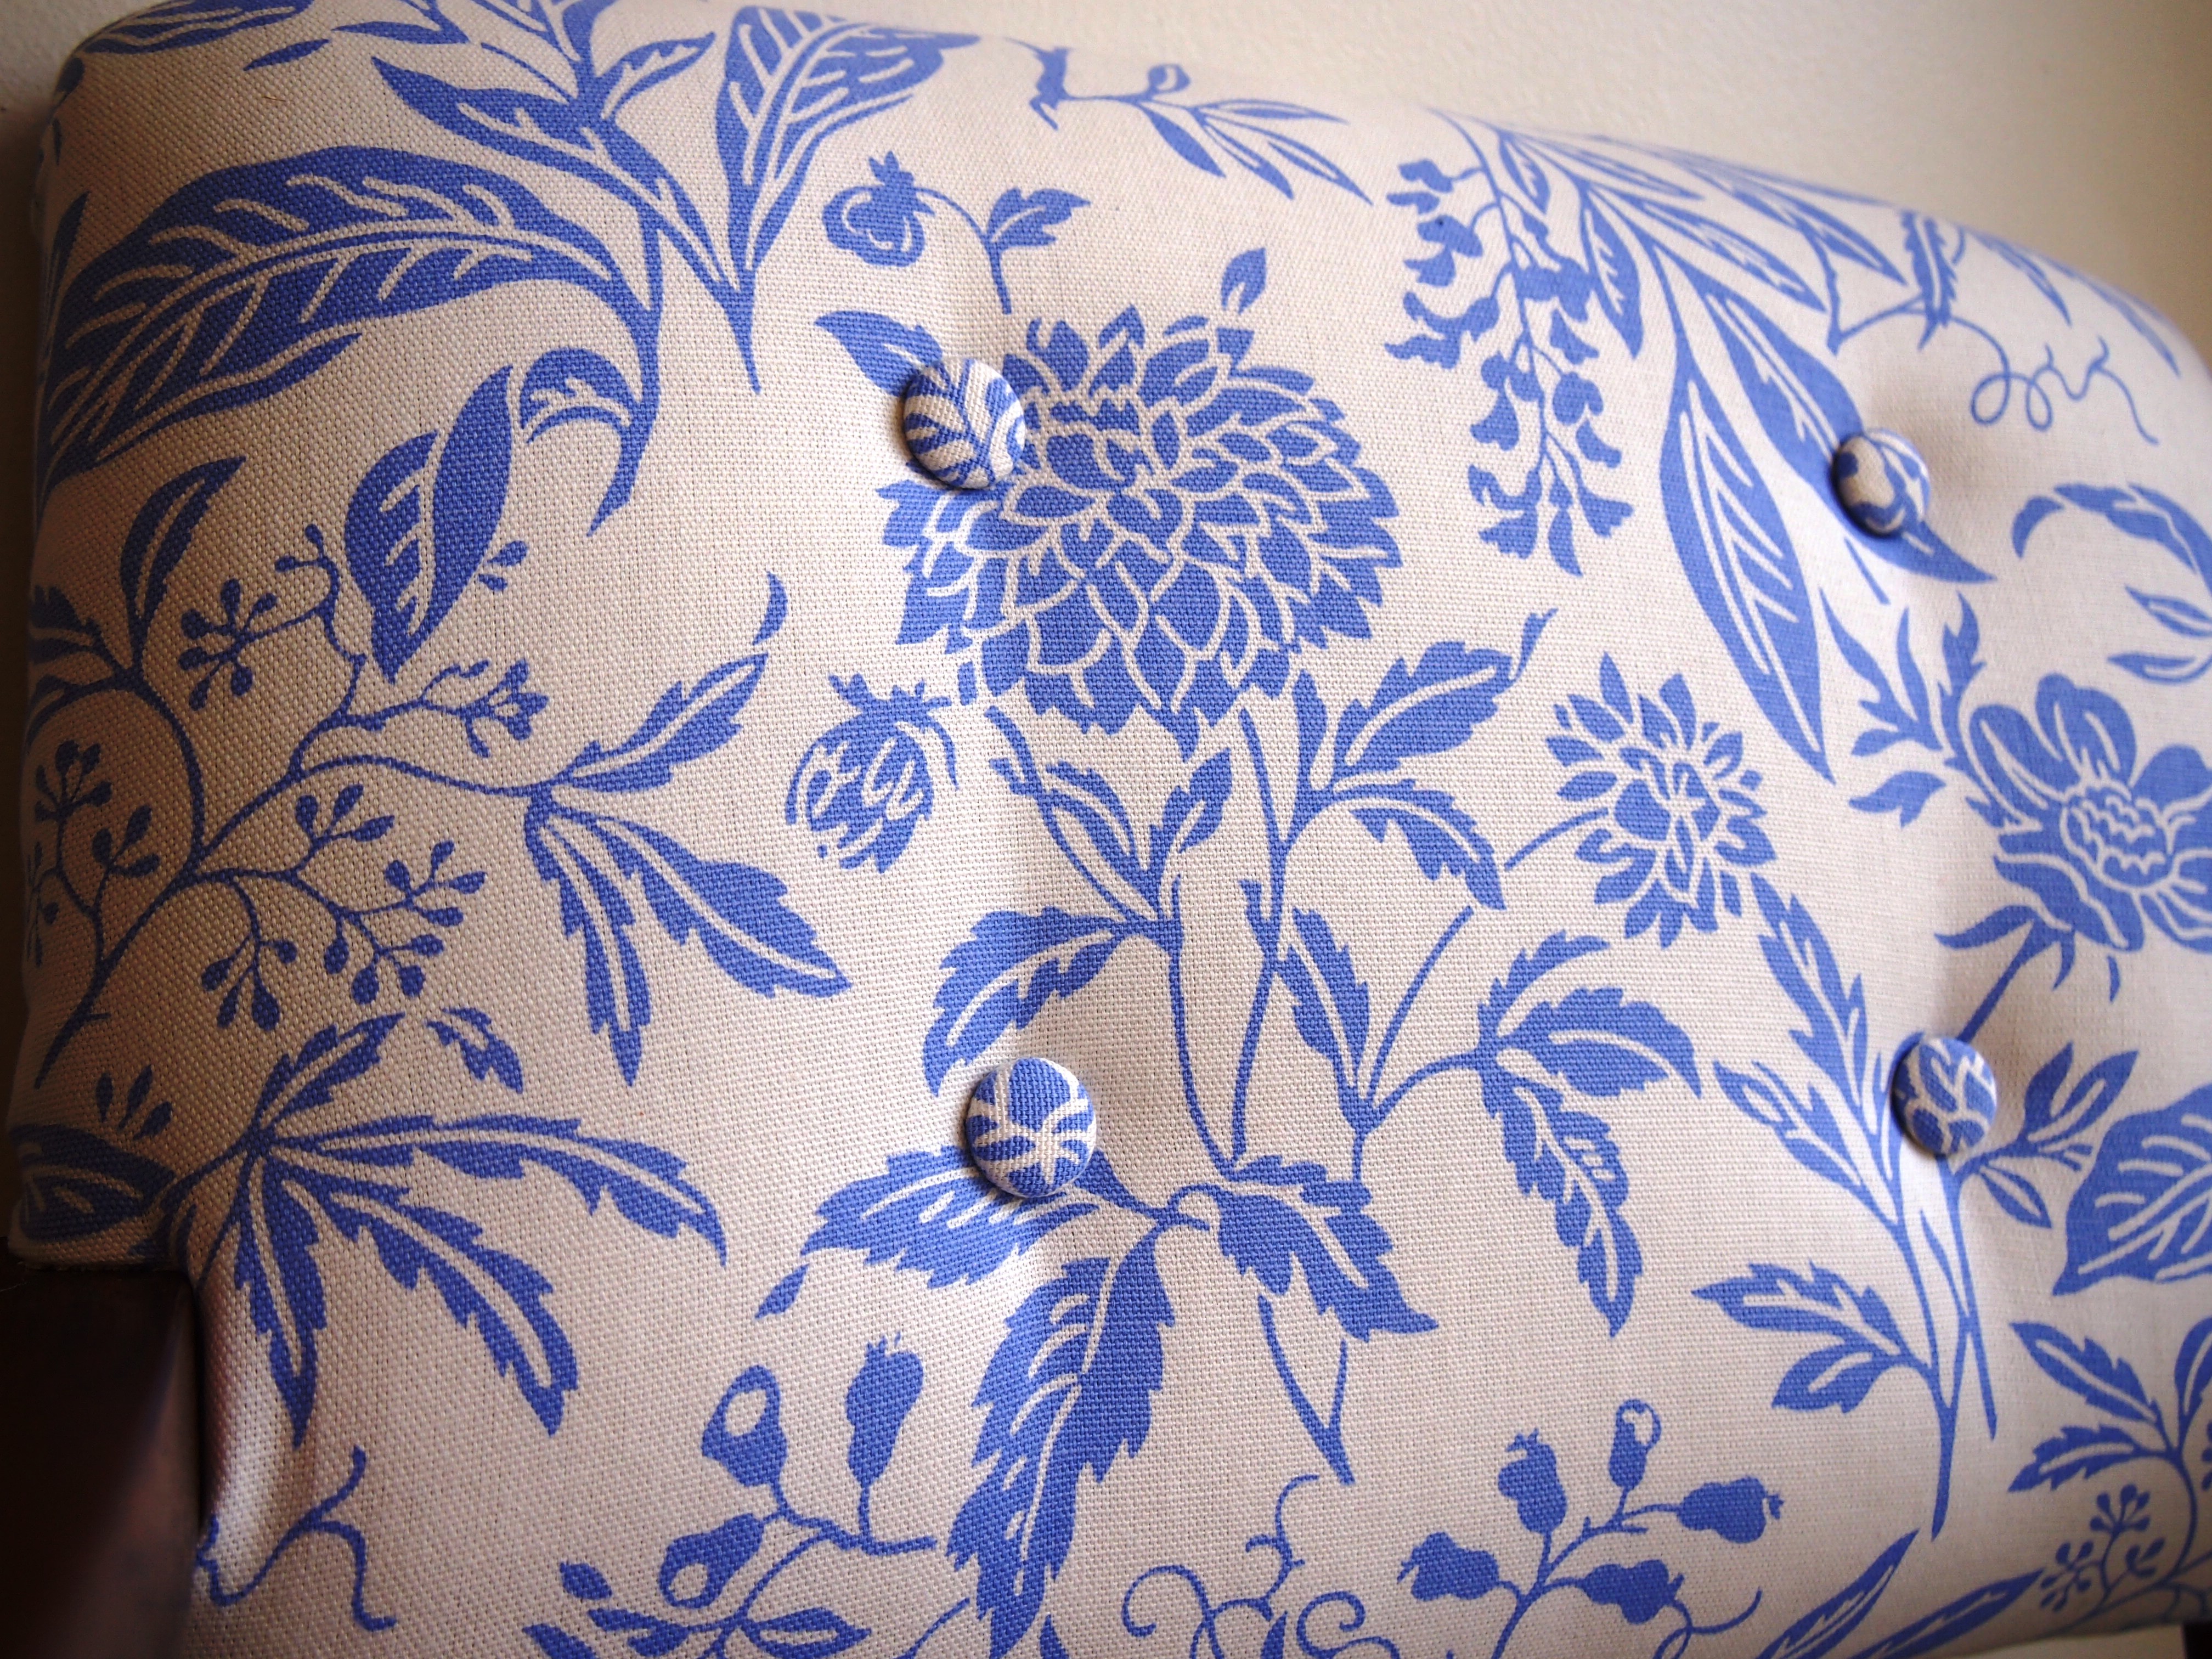
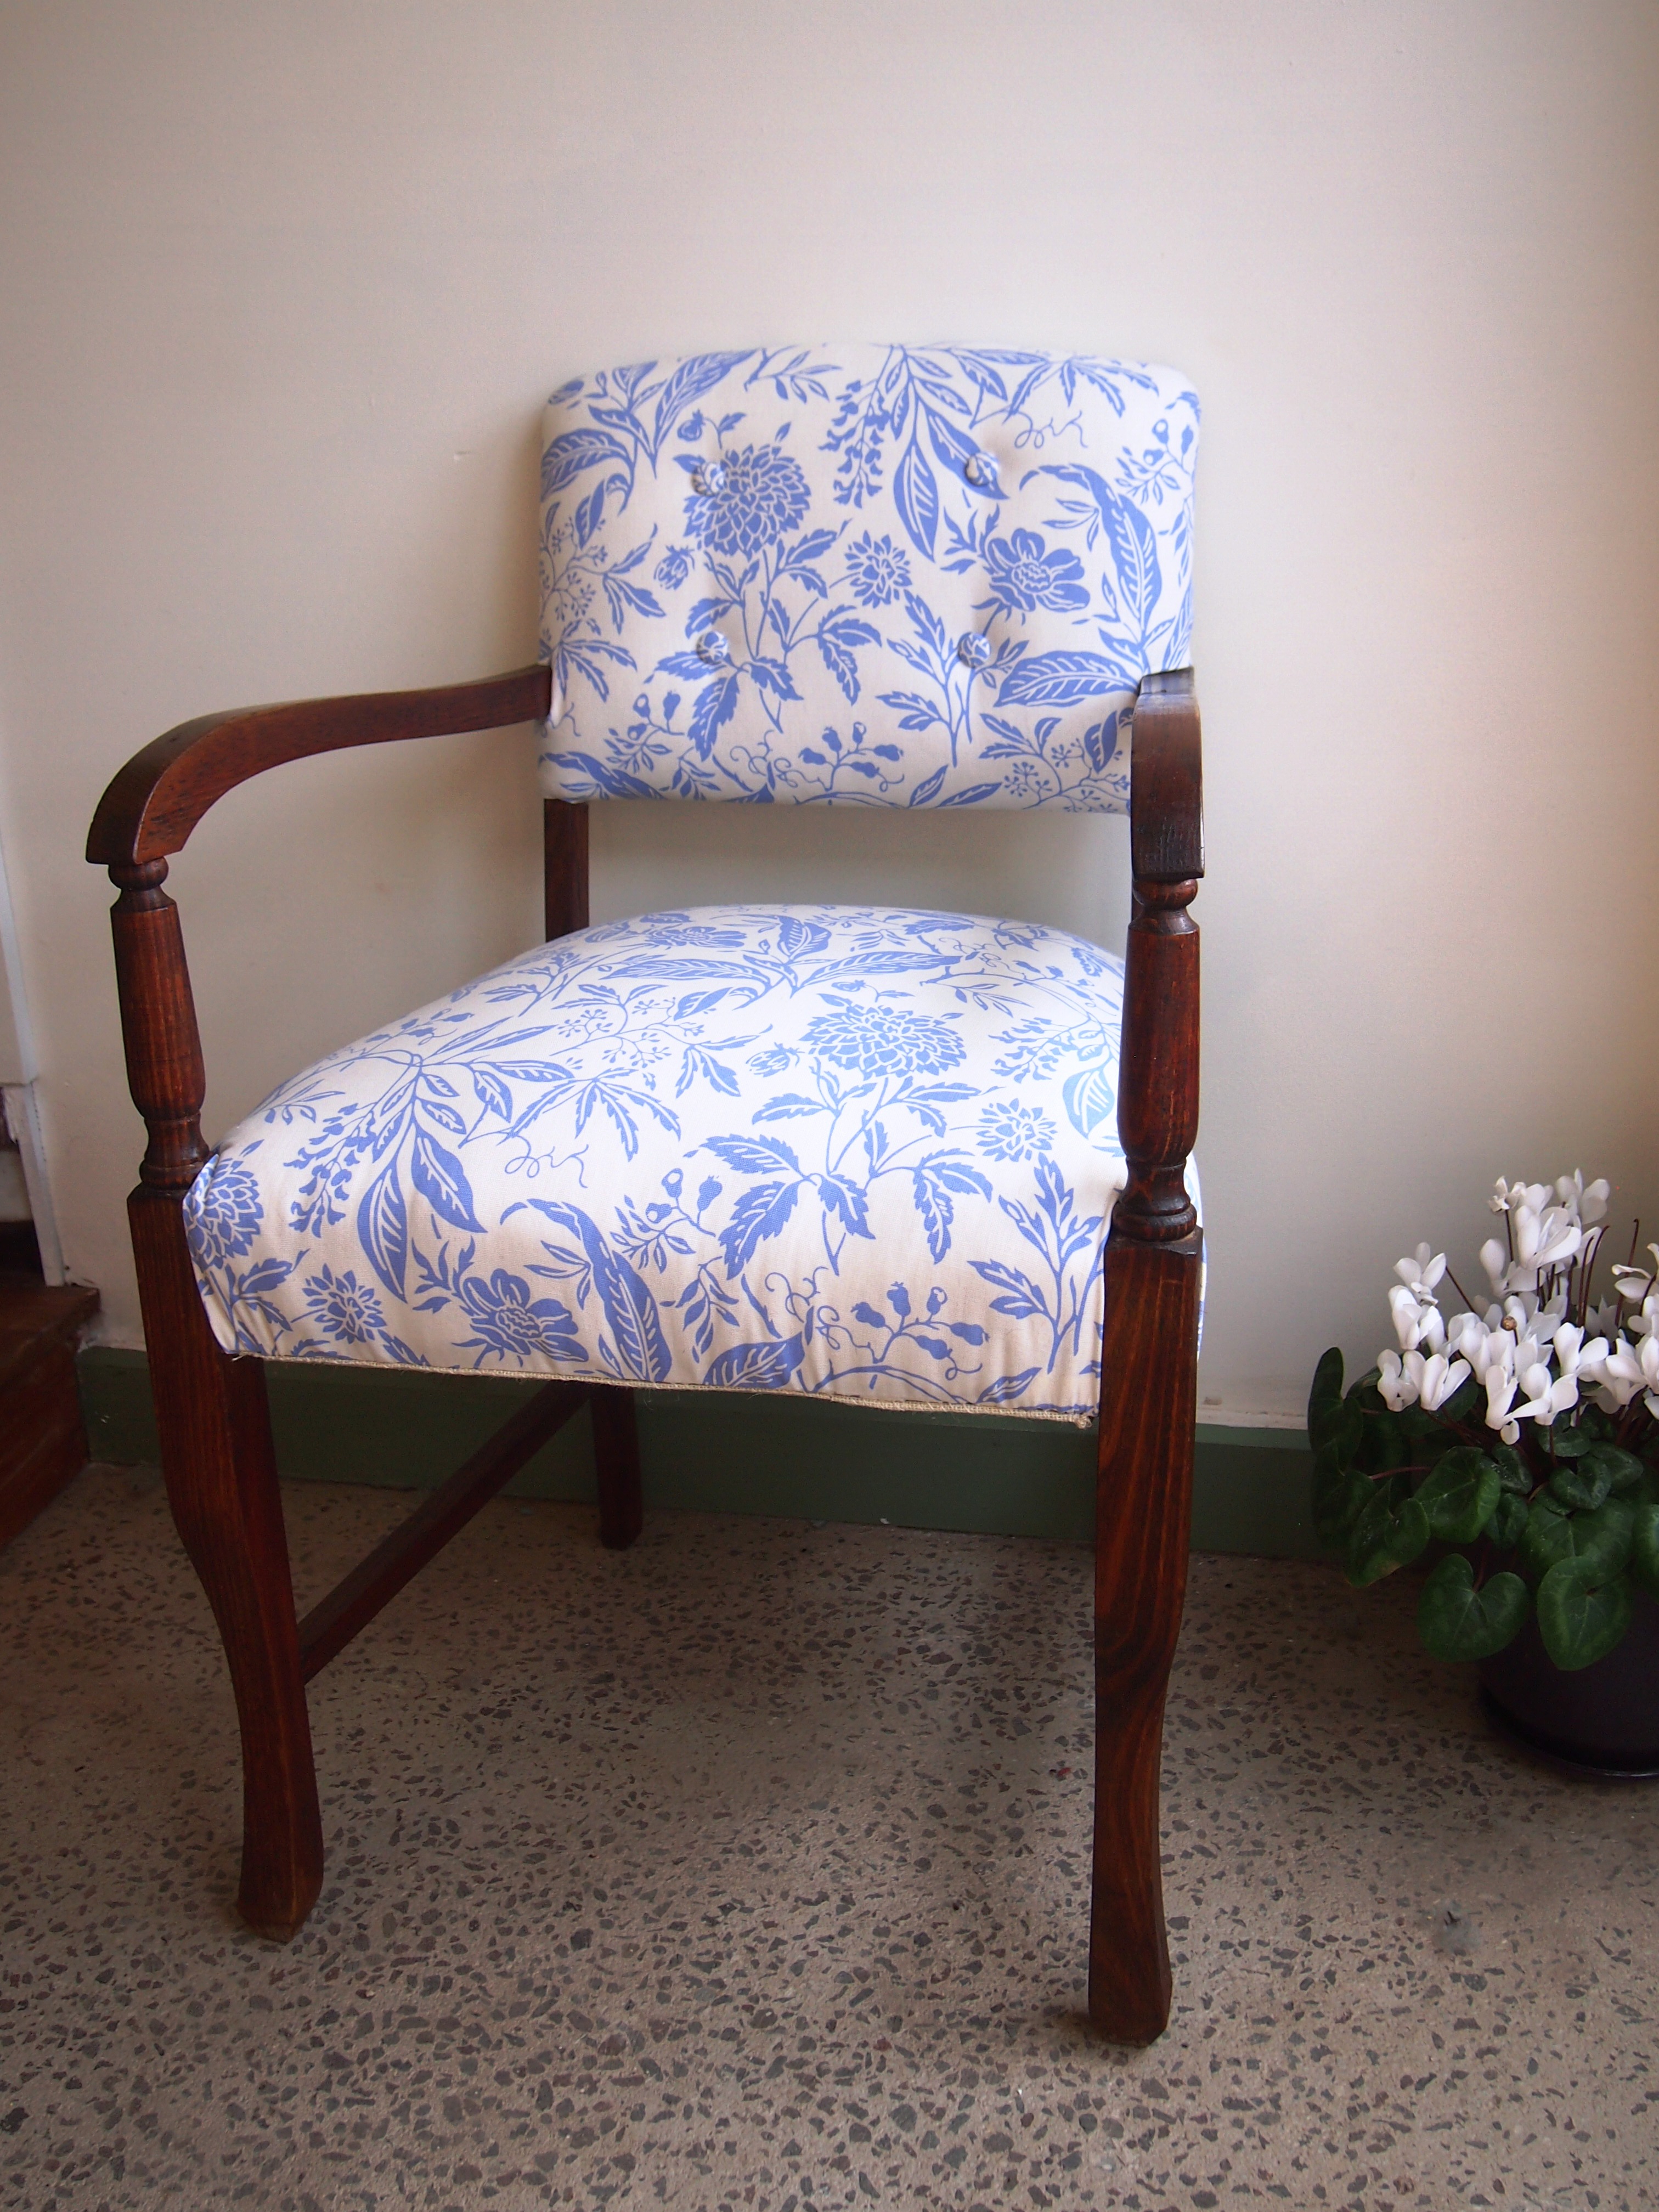
Here is a little taste of some of my fabulous finds:


Like this post? You might also like this one!