My Deer Friend

Have you see those awesome white resin deer heads you can buy to adorn your walls? I love them but I hate the price tag. I don’t mind investing in pieces for the home that are going to be with us for a long time but I don’t know if my love of a white mounted deer head is going to last long enough to justify paying over $100. So of course, I thought of ways to get out of paying that much.

I considered making one out of paper mache or clay but then I found this little guy on ebay for about $25. So here is a quick version of a white deer head that was far less involved and seriously cheaper than the store-bought versions.

I thought about glueing down all the fur with Mod Podge and then going over it with paper mache but just as I began to glue I had a light bulb moment and just ripped off all the fur from the plastic mold. I did feel a bit bad because it was real rabbit fur (eco-fur though) but the original version was creepy anyway.

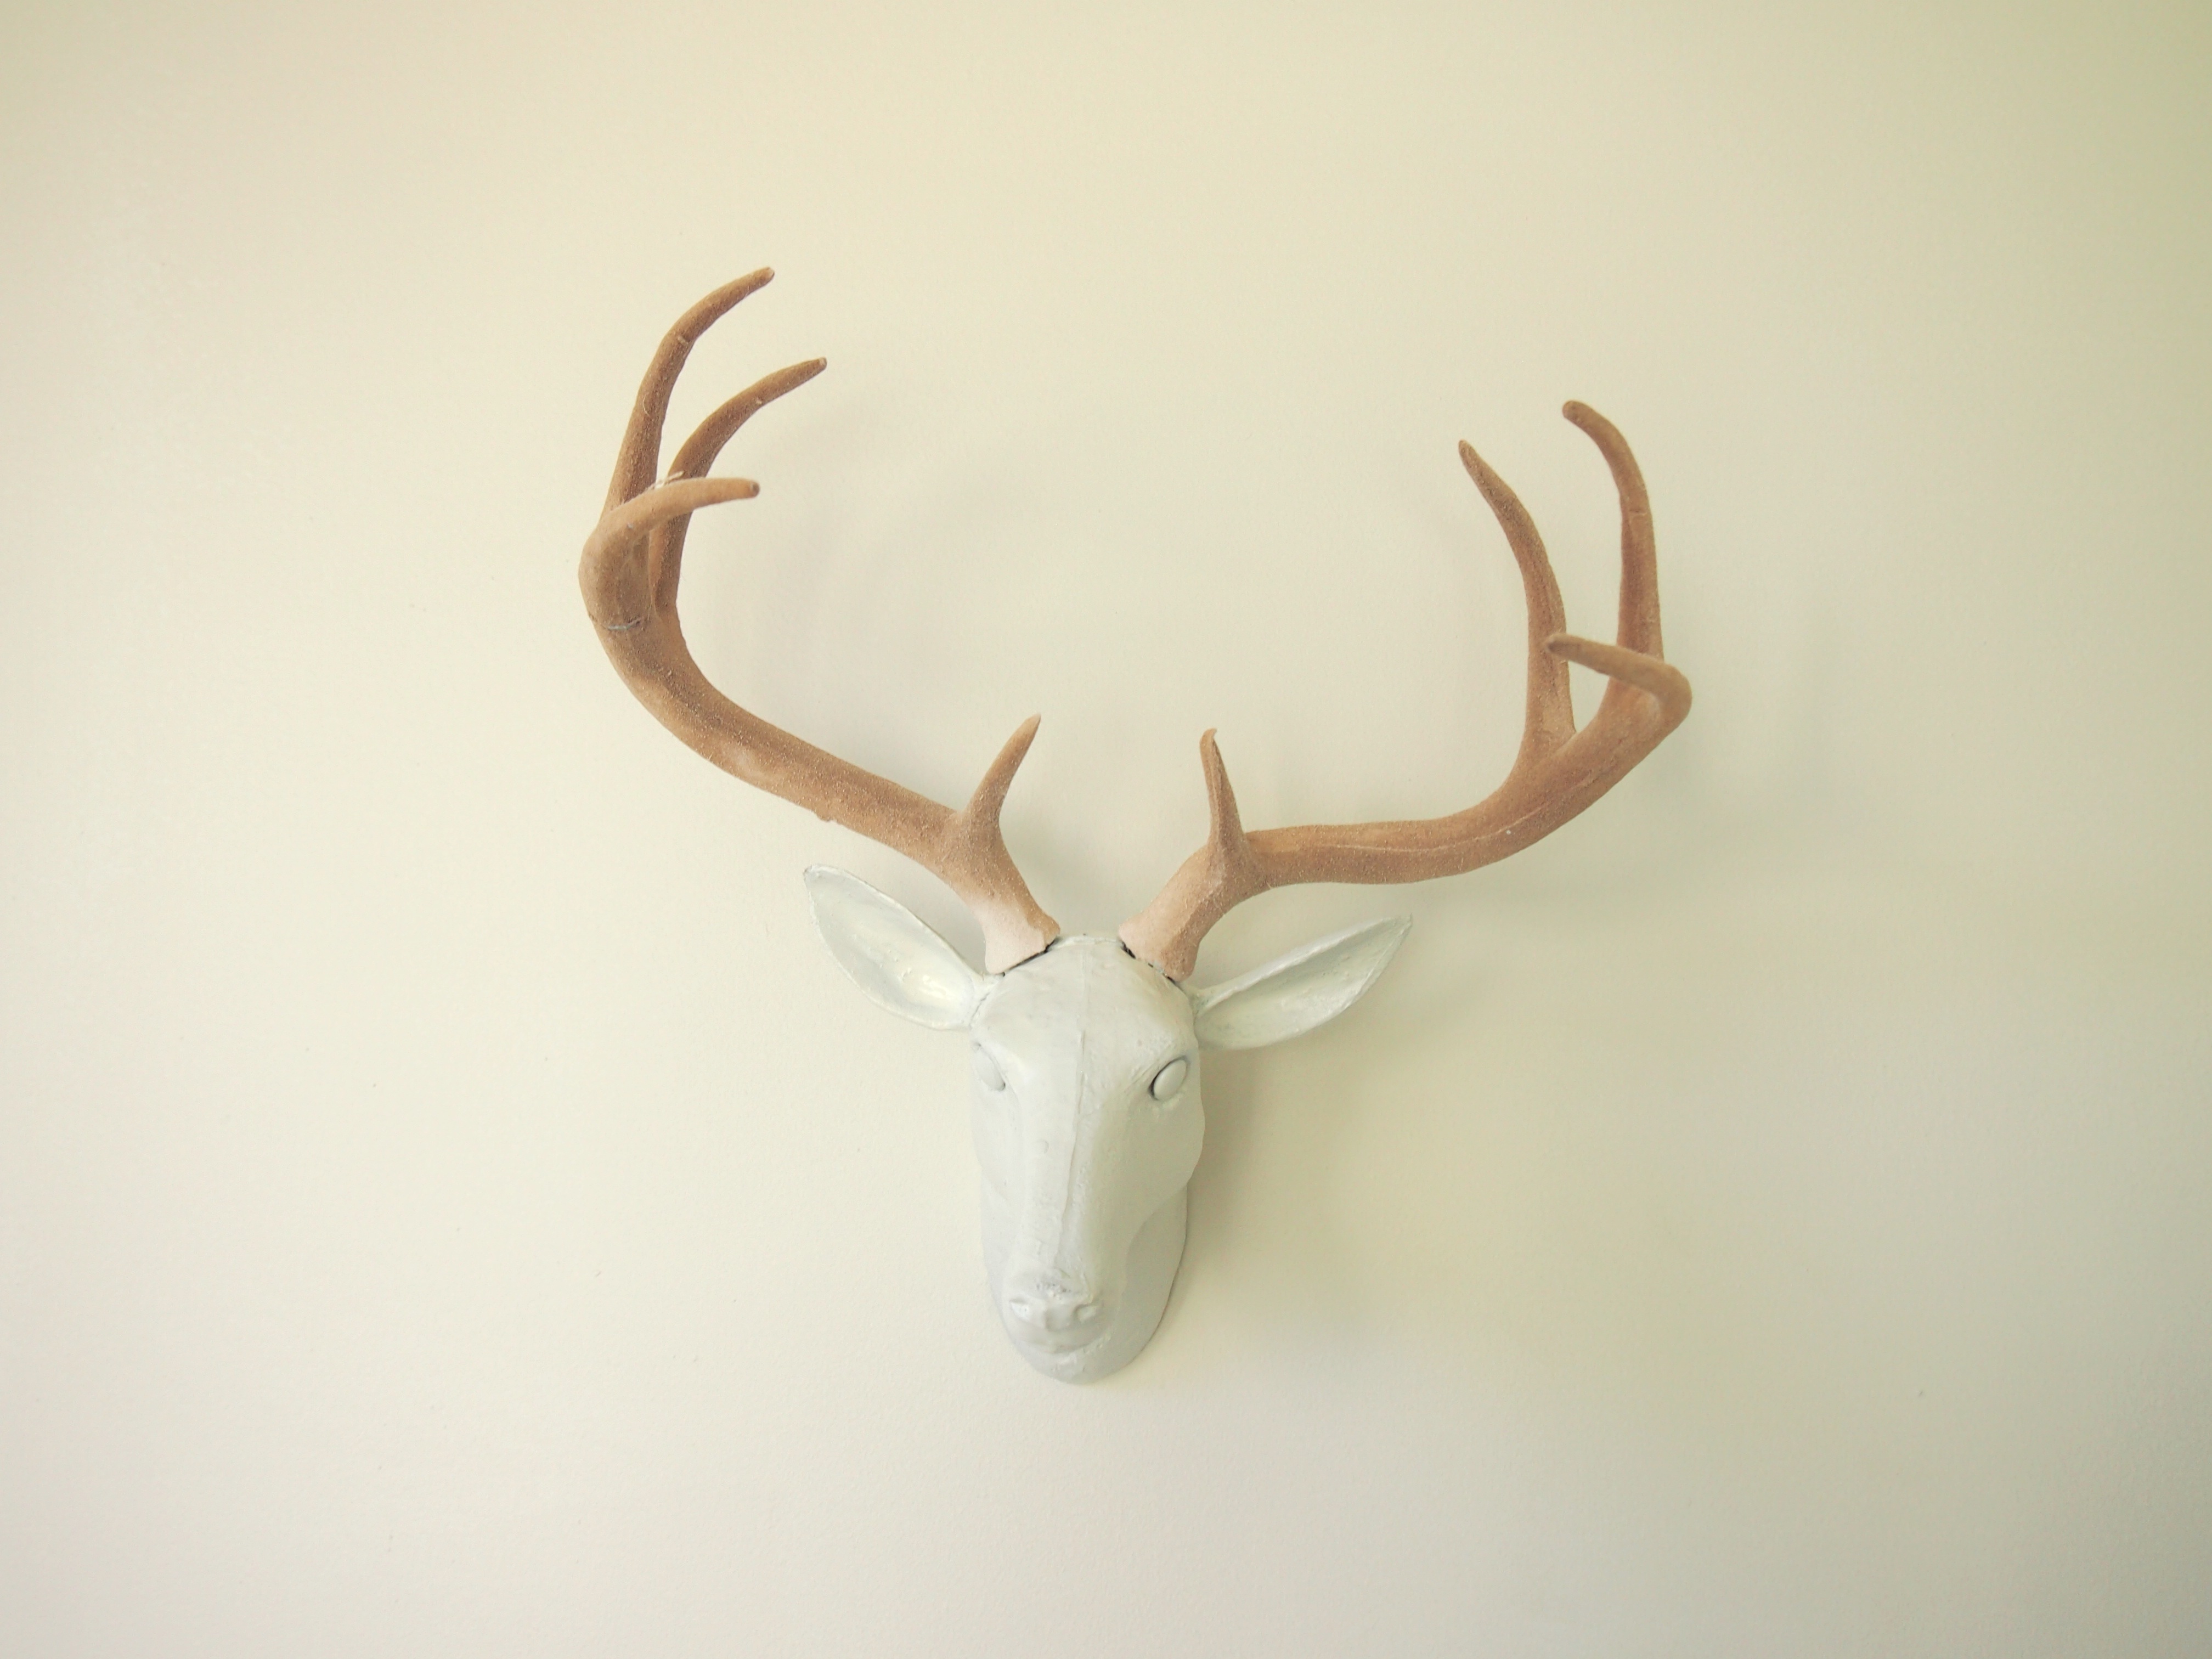
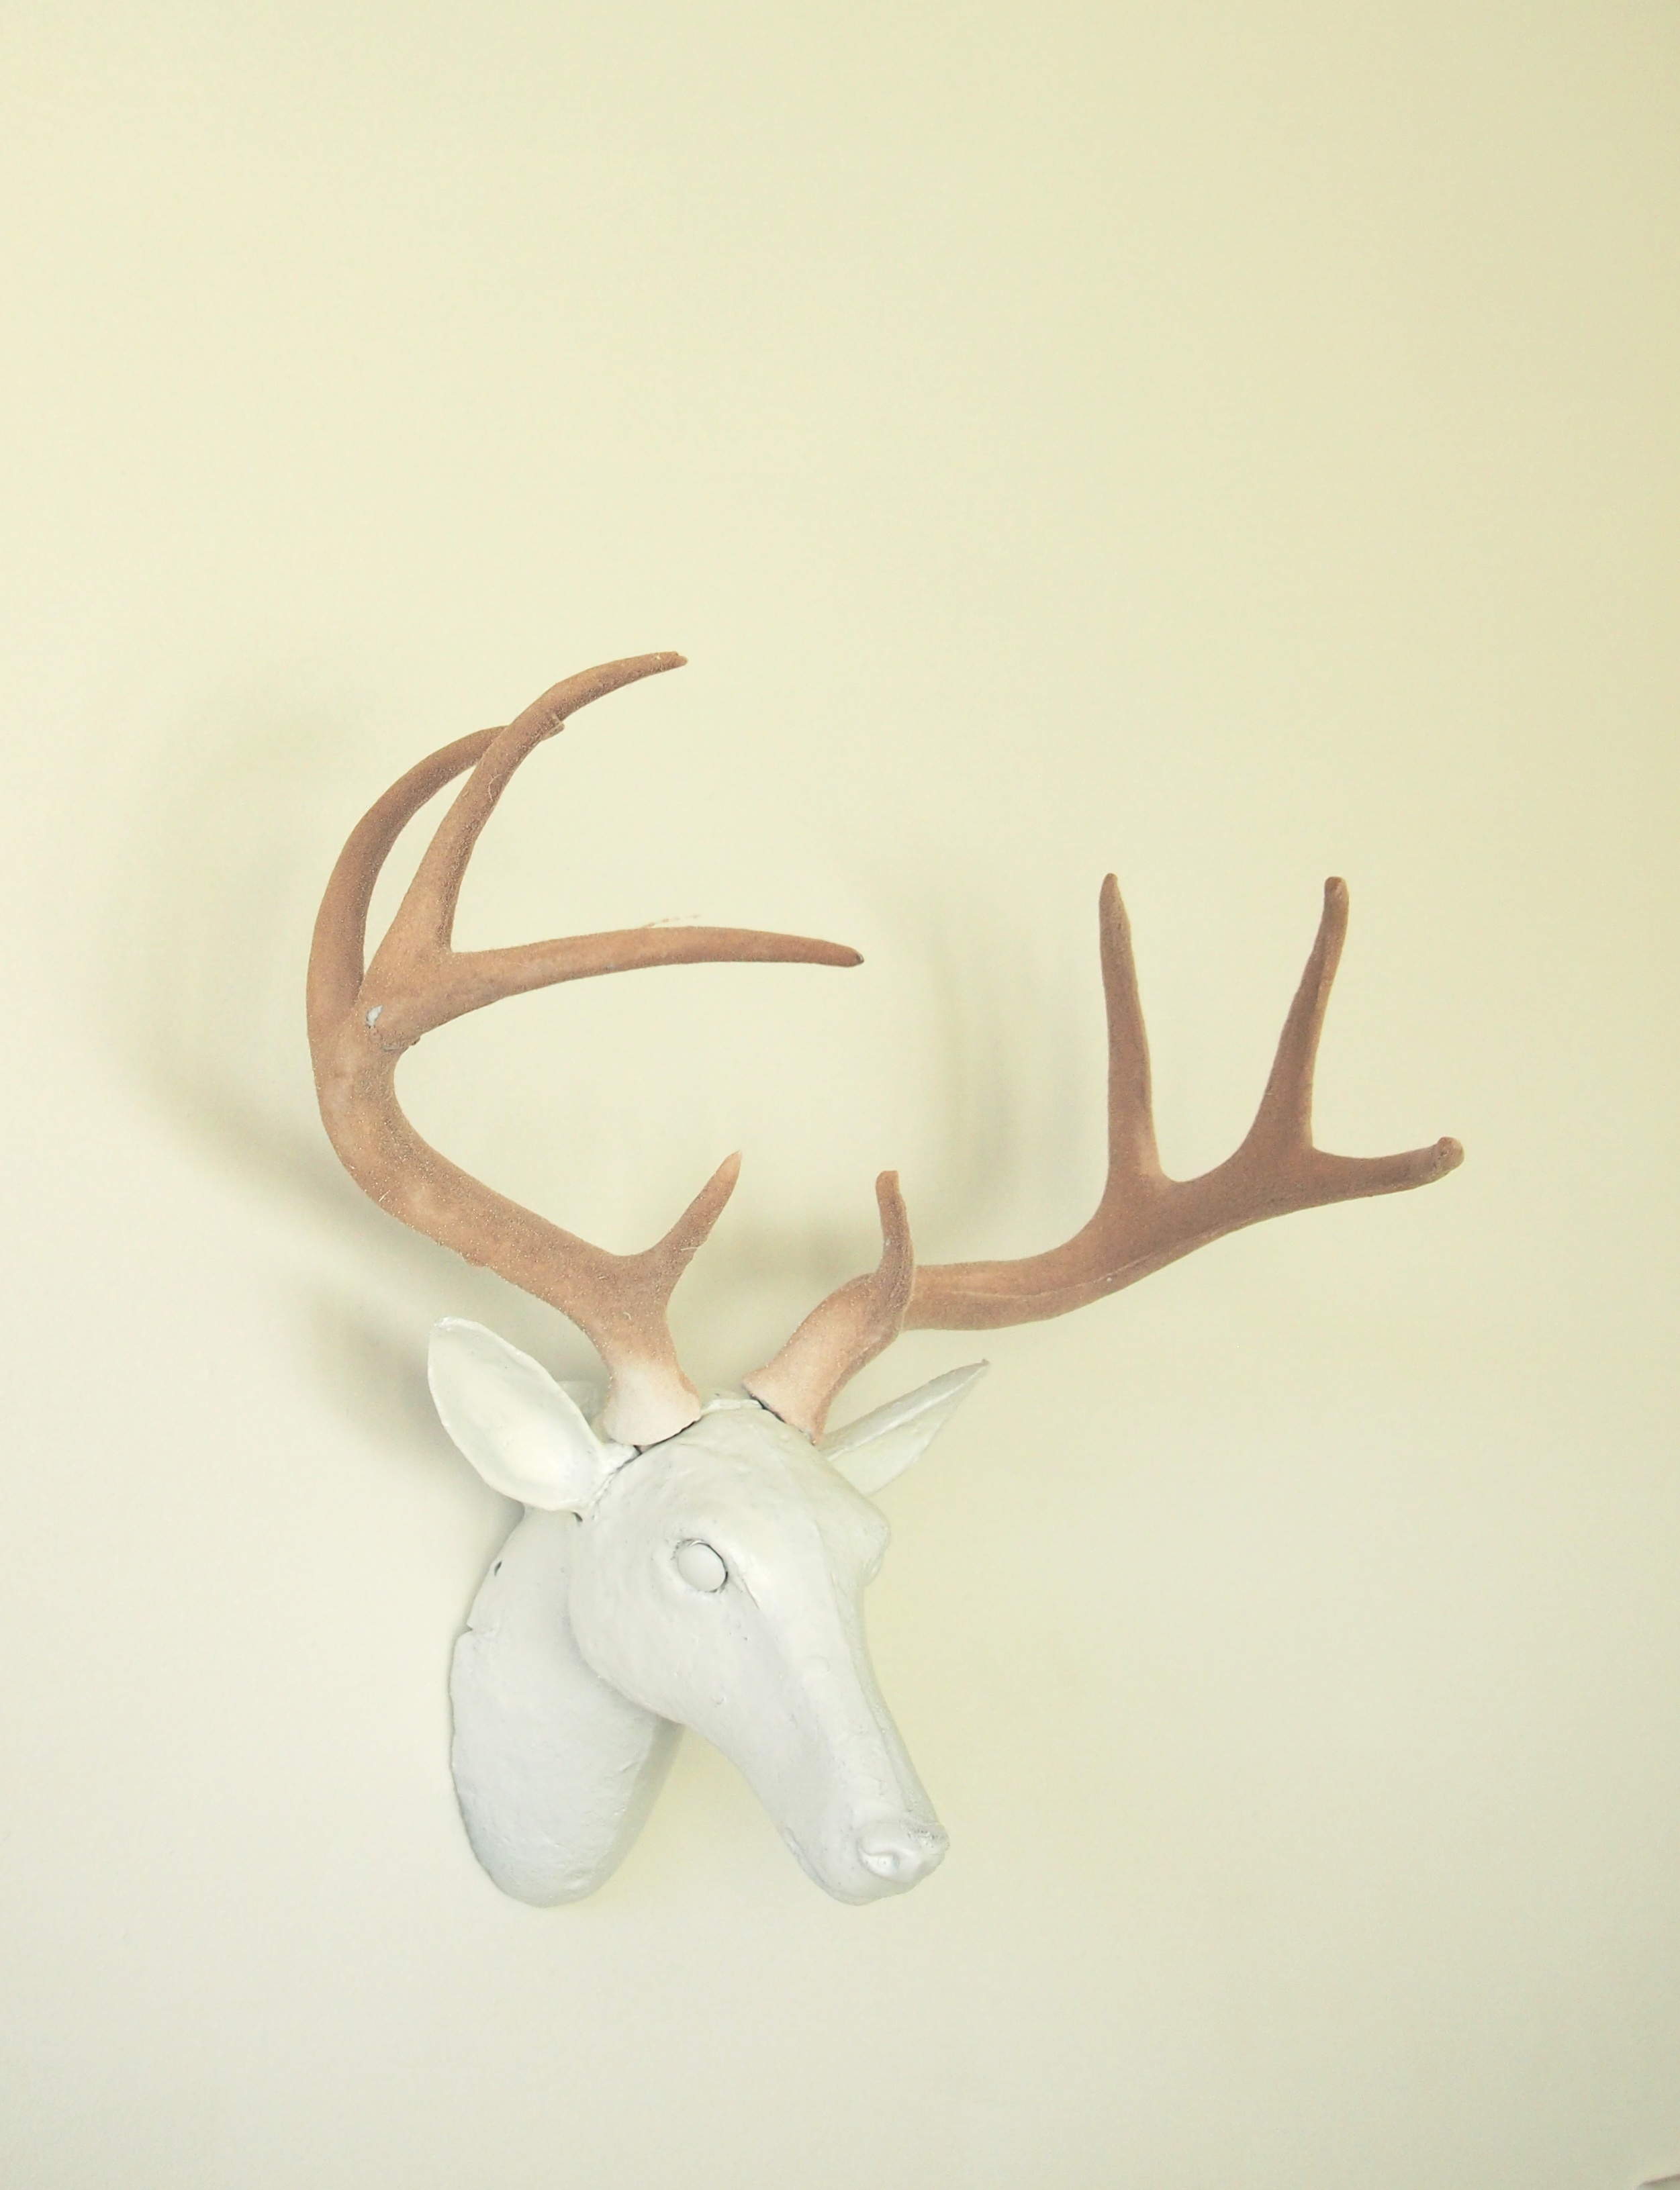
He looked even creepier with no fur because the mold was black but after 3 coats of white spray paint I had myself a white deer head for the lounge room. And a bunch of gross rabbit fur. The antlers were covered in a kind of velvet coating (I’m not sure what it’s called) so they kind of absorbed the paint and just lightened up a bit but I’m still happy with the result. Up close it’s not smooth and perfect like a resin version but its high up on the wall so it suits me fine!

This slideshow requires JavaScript.

Cute as a button

I had such a nice crafternoon today. It is the second last Friday of my beloved holidays and I was in the Zone (The Zone being the semi-finished front spare room slash my craft room – thanks Dave!). I wanted to make something for Baby Rose seeing as I am seriously behind on the bird mobile I started in September last year. For shame. The thing is I don’t really know why I haven’t finished it. And that is absurd because every time I see Rose, the little peach, there is nothing I wouldn’t do for her. I mean she’s just so amazing. Doesn’t say much but amazing nonetheless.

Her nursery is lovely, not over done, but just enough pink for a sweet baby girl to dream her baby dreams in and I thought this button monogram would go nicely.

I saw it on spearmintbaby via craftgawker and loved it! I found the wooden frame at my local Savers and spray painted it white, kind of like I’ve done to almost every other thing I’ve bought home from Savers. The spearmintbaby tutorial uses a double-sided tape as the adhesive but I used my glue gun instead and found it to be a suitable method. I liked being able to tuck a button in here and there with glue and the tape wouldn’t have allowed that as some of the layered buttons didn’t touch the card underneath. I tried to buy some multicoloured brads in a mixed packet but couldn’t find any at the craft shop so I got white glittery ones and painted some pink using nail polish. Tinkerbell helped me choose the buttons.

I also wanted to add a few special touches to it so it isn’t just made with a packet of mixed buttons from a shop. It has some old buttons that came from my Great Grandnan’s sewing box that I was given as a girl, a pearl that was one of a pair of earrings I wore to my debutante ball and a little gold guardian angel charm my Mum gave me when I was about 18.

I am pretty happy with the result. The one on spearmintbaby is really something but I hope Rose likes hers just as much.

This slideshow requires JavaScript.